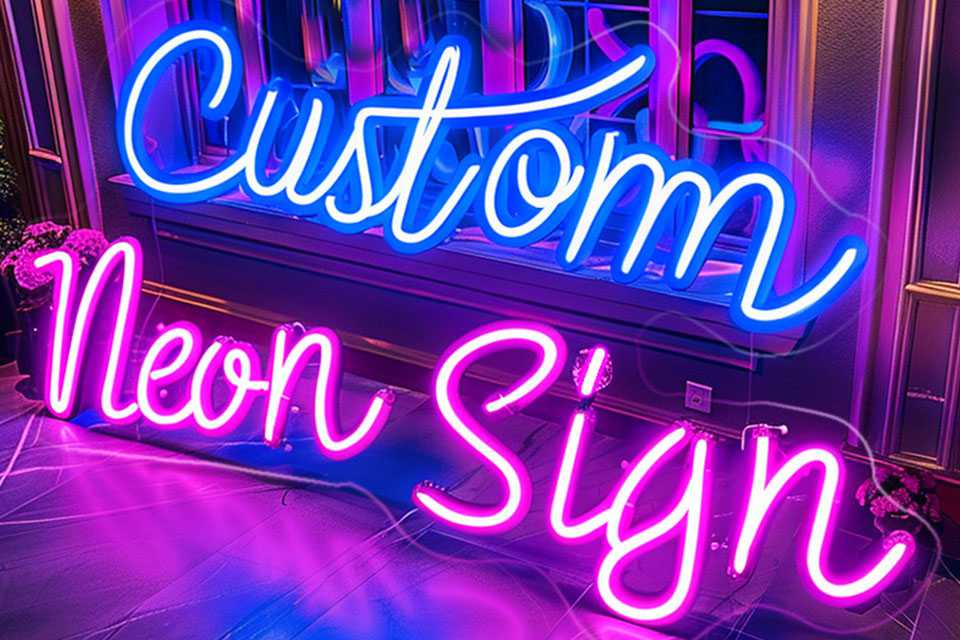


This article is a comprehensive tutorial for creating your own DIY neon sign, guiding you from beginner to pro. We’ll explore different methods, focusing on using LED strip lights for a safe and accessible approach. Learn how to design, shape, and assemble your لافتة نيون to add a personalized touch to your الديكور. This guide is worth reading because it empowers you to make your own neon sign using readily available materials and tools, transforming your creative vision into a luminous reality, all without the complexities of traditional glass نيون. It is a perfect way to make unique home decoration.
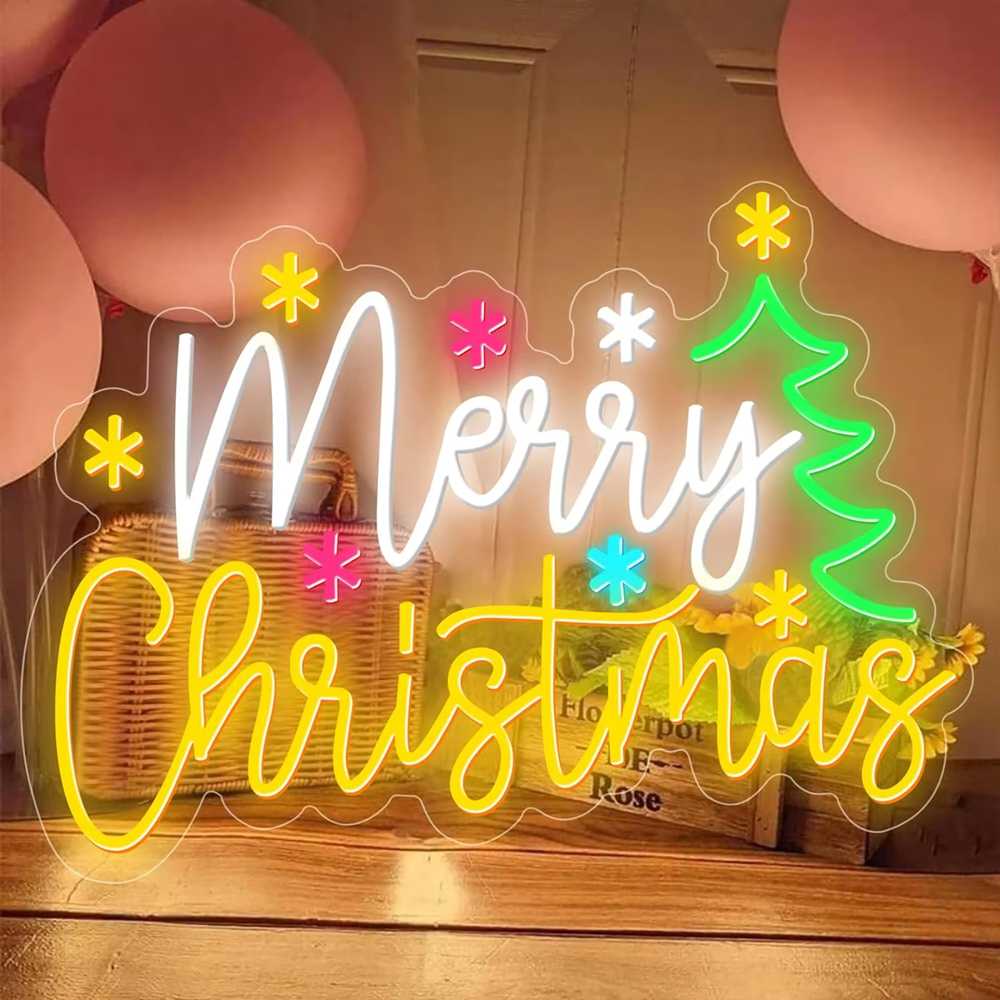
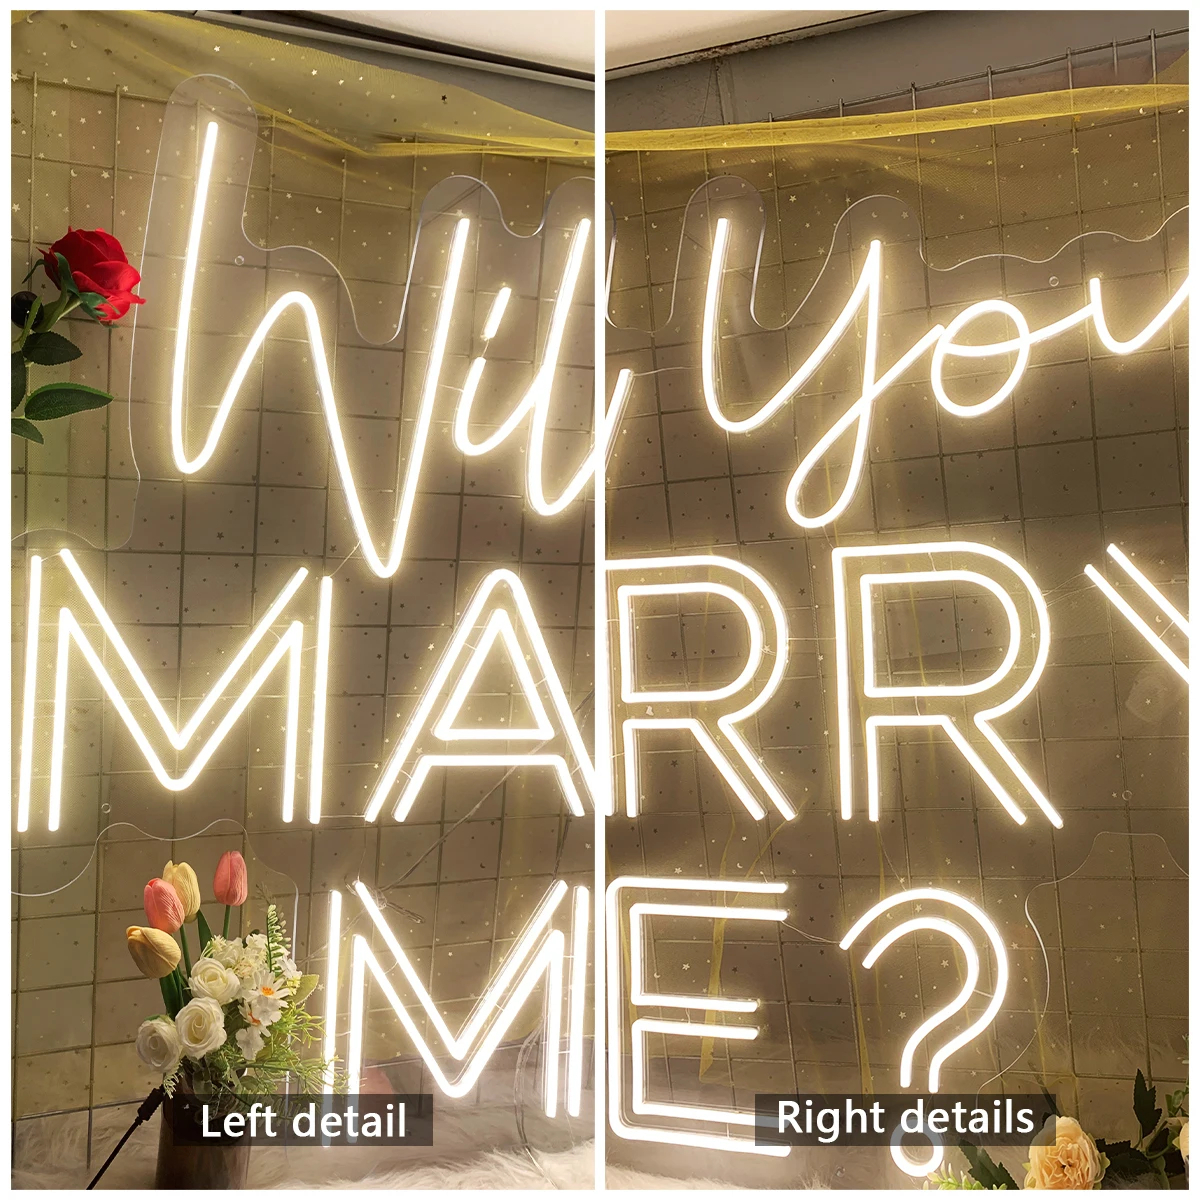
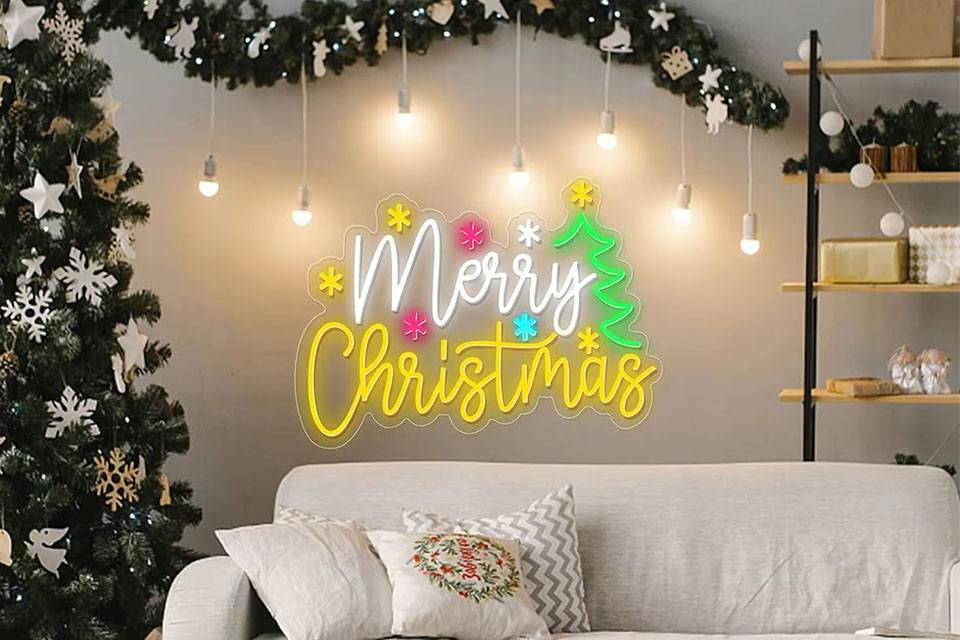
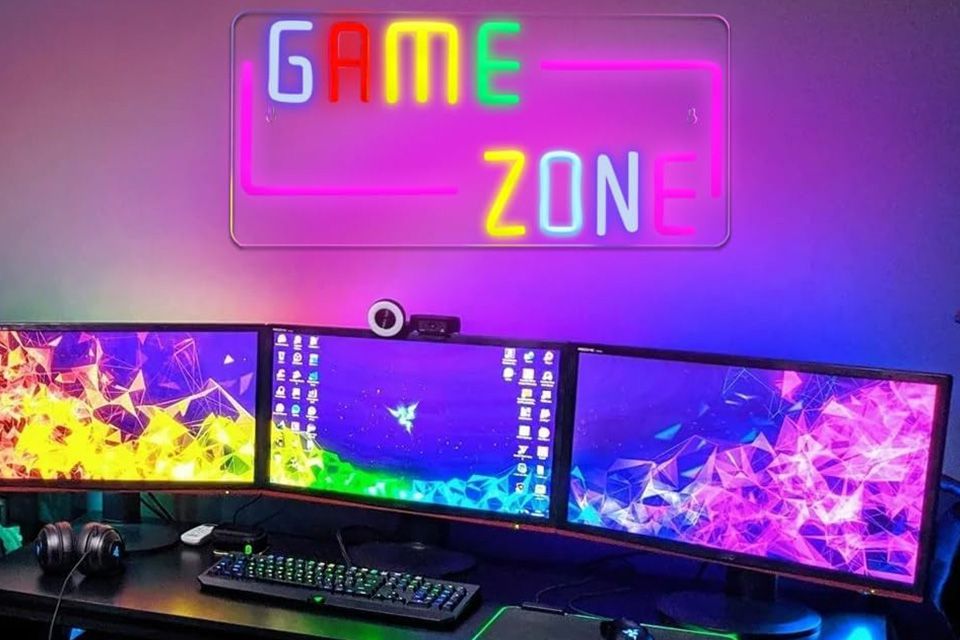
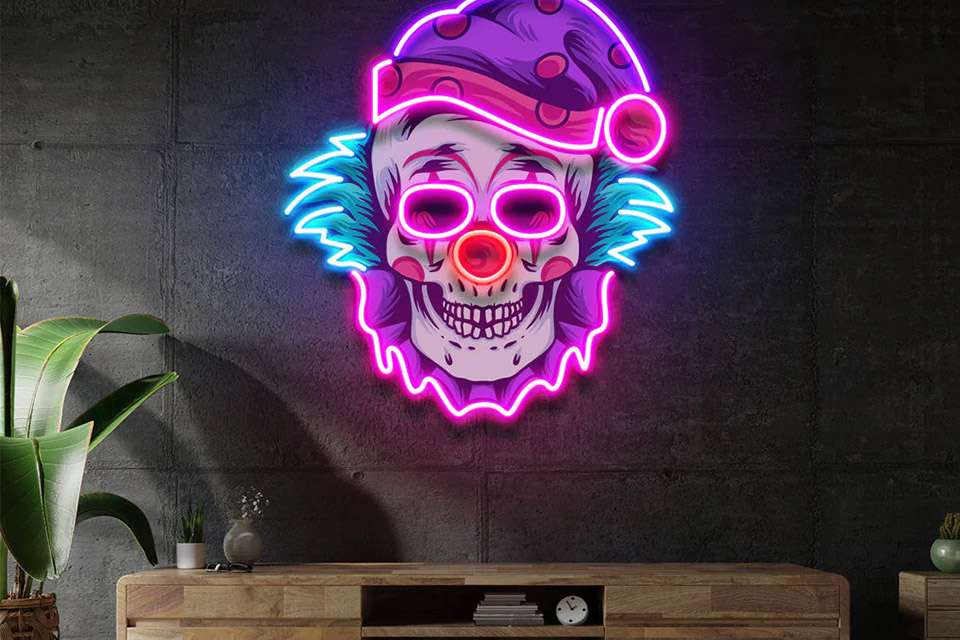
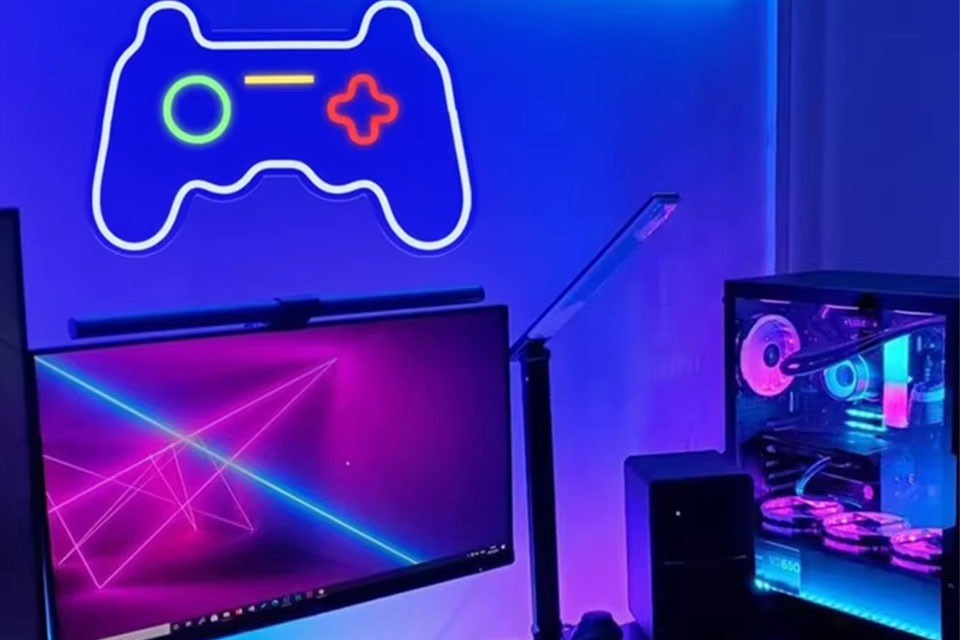
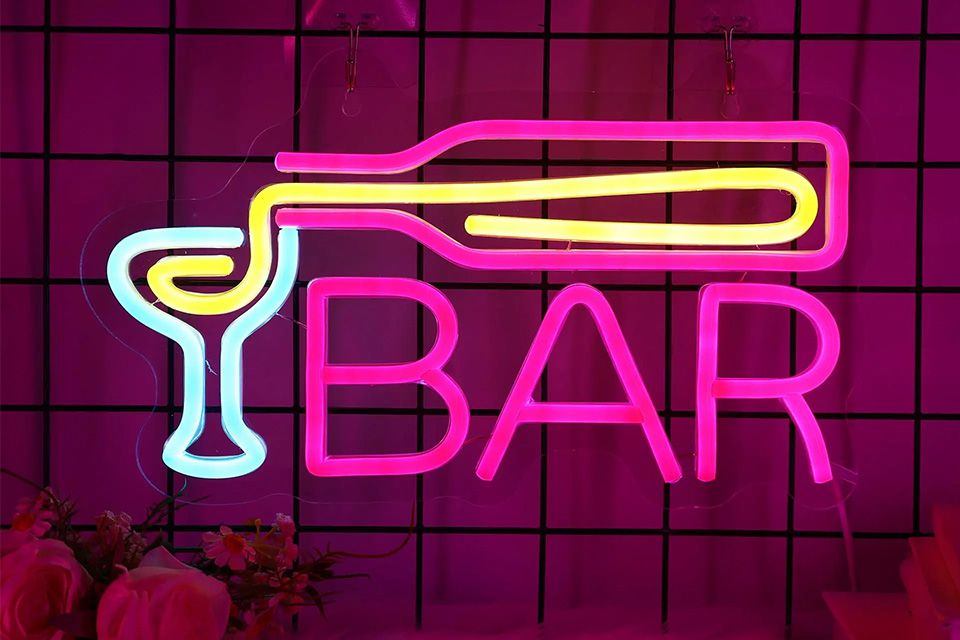
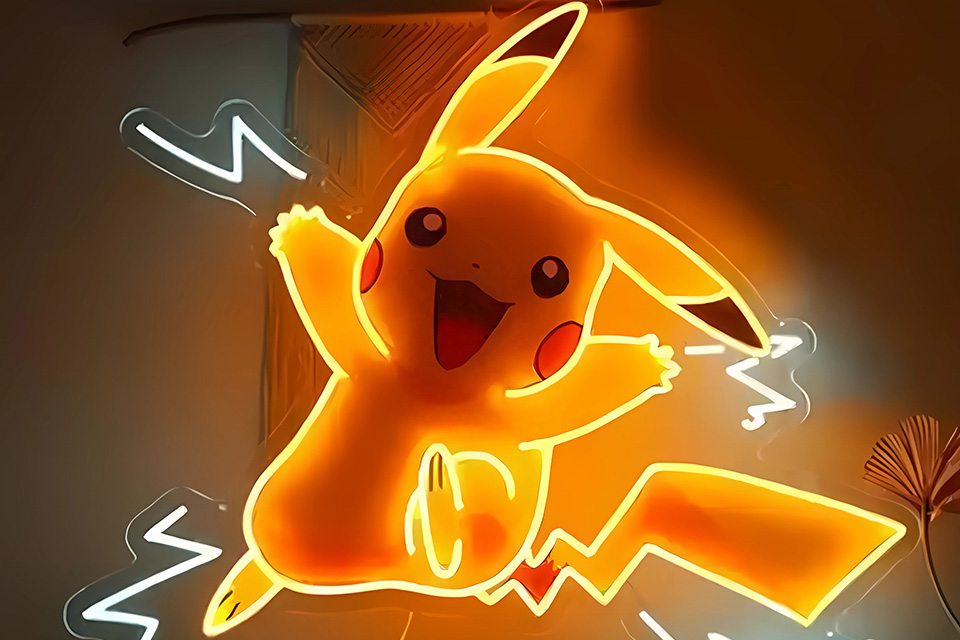
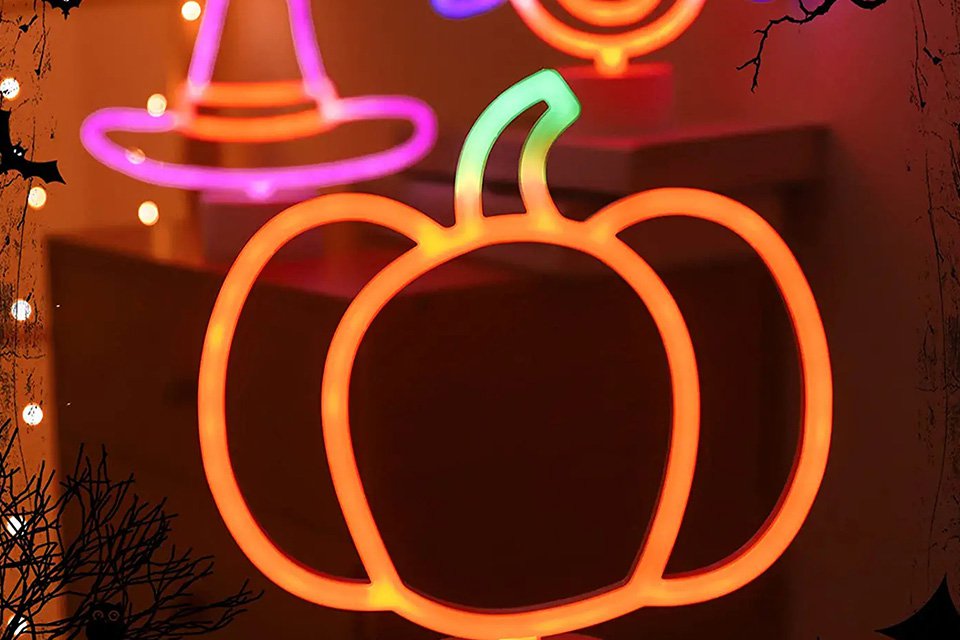
Creating your own لافتة نيون offers a unique opportunity to تخصيص your space with a custom piece of illuminated art. إشارات النيون التي تصنعها بنفسك allow you to express your creativity, whether you’re crafting a motivational quote for your office, a playful design for a kid’s room, or a stylish statement piece for your living room. Make neon signs at home is a great way to add a unique touch to your home الديكور.
Unlike actual neon signs that use glass tubes filled with gas and require specialized skills and equipment, DIY neon sign methods, especially those using LED strips, are much more accessible to the average person. These methods allow you to achieve a similar aesthetic without the high cost, fragility, and safety concerns associated with traditional glass نيون. This is why diy led neon sign is becoming more and more popular.
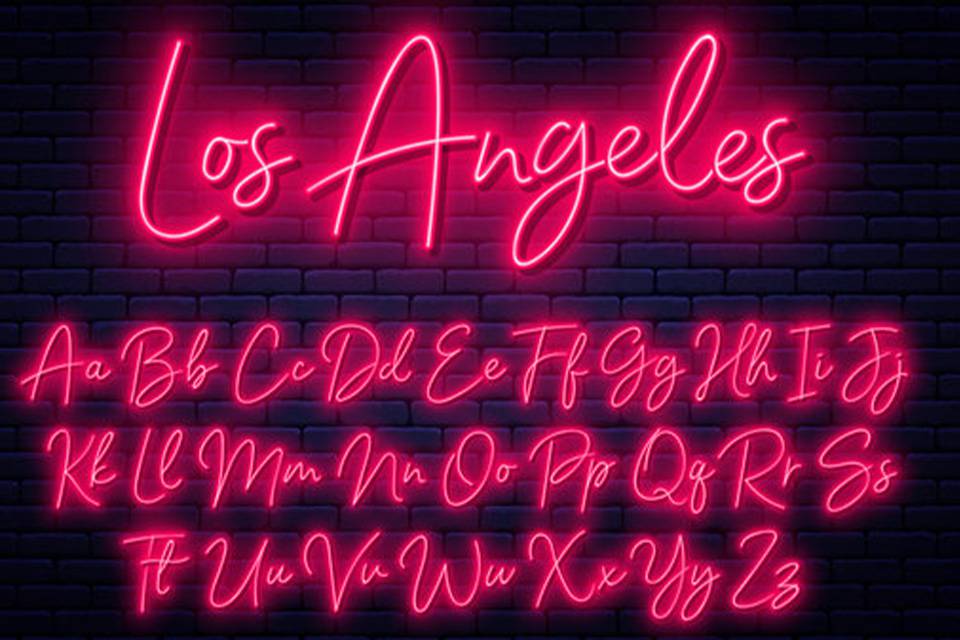
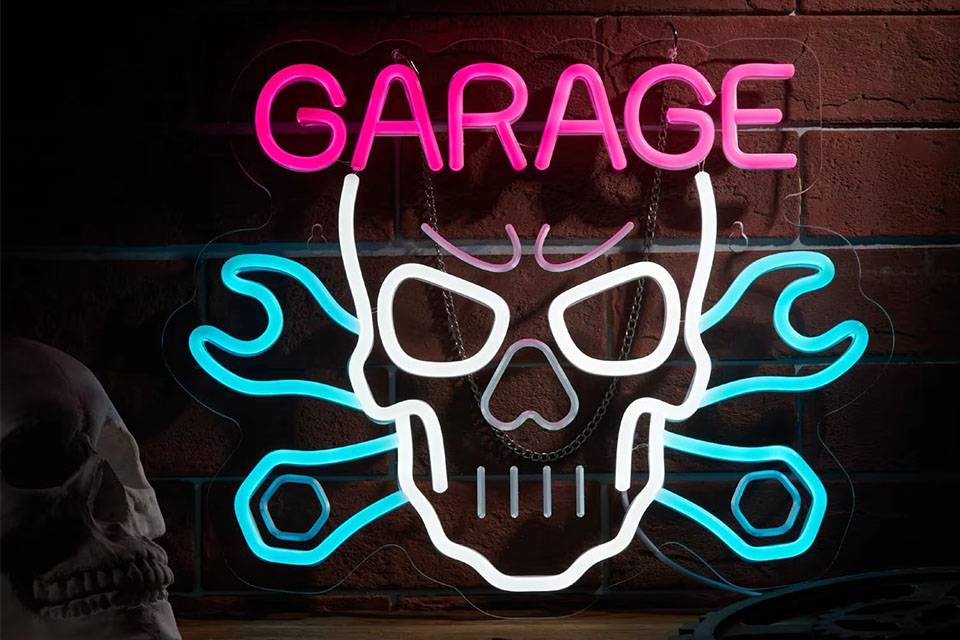
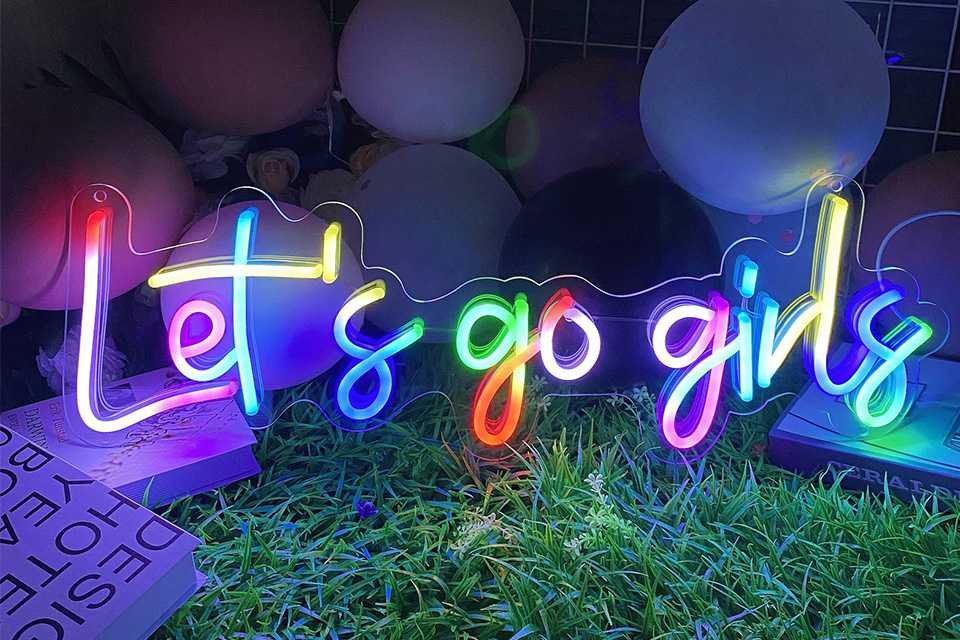
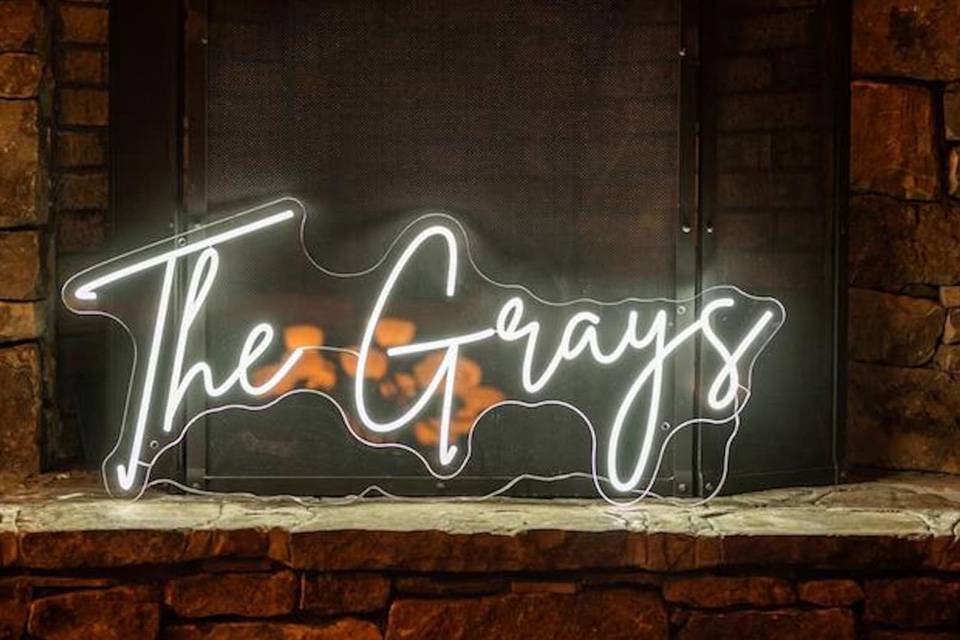
The first step إلى creating your own neon sign is to come up with a design. You can search online for inspiration, browse لافتات نيون مخصصةأو create a design from scratch. Consider the message, the font, and the overall aesthetic you want to achieve. The design can be simple or complex, depending on your skill level and the desired effect. Keep in mind that led strip is easier to work with for simpler designs.
Once you have a general idea, sketch your design on paper. This will serve as a template for shaping your neon strip. You can draw the sketch freehand or use a computer program to create a more precise design. If you’re using text, you can print out the text in your chosen font and use that as a guide. When you have your design ready, you can proceed to the next step.
Now it’s time to gather your materials. For a DIY neon sign using LED strip lights, you’ll need the following:
You may also need tools for shaping and cutting the backing material, such as a jigsaw or a craft knife, depending on the material you choose. If you are using an أكريليك backing, you may need some specialized tools. Having the right tools on hand will make the process smoother. You can buy a pre-made diy neon sign kit, which will make things a bit easier.
The next step is to prepare the backing for your لافتة نيون. If you’re using an acrylic sheet, you’ll need to cut the outline of your design. You can trace your design onto the أكريليك and use a jigsaw to carefully cut it out. If you are a more experienced craftsman, you can use more advanced tools.
If you’re using a poster board, you can trace and cut the design using a craft knife. Make sure the backing is sturdy enough to support the LED strip and maintain the shape of your design. You may want to reinforce the poster board with additional layers or a frame for added stability. Also, make sure that your backing is big enough for your design.
With the backing ready, it’s time to start shaping your LED strip أو el wire. If you are using el wire, you will need to be a bit more careful. If you’re using flexible LED مرونة النيون, carefully bend and shape the strip to match your design. LED strip lights are generally easier to work with than el wire because they are more flexible and less prone to kinking. You can use shaping wire to create more intricate designs.
You may need to cut the strip into different lengths to fit the various parts of your design. Always cut the LED strip at the designated cut points, which are usually marked on the strip itself. Cutting elsewhere can damage the strip and prevent it from working. If you are using el wire, you need to be careful not to cut it in the wrong place.
| المواد | الوصف | Pros | Cons |
|---|---|---|---|
| LED Strip Lights | Flexible strips with embedded LEDs | Easy to shape, bright, energy-efficient, durable | Can be more expensive than EL wire |
| EL Wire | Thin, flexible wire coated with phosphor | More affordable, comes in various colors, consumes less power | Less bright, can be more fragile, requires an inverter |
Once you have shaped your LED strip أو el wire, it’s time to attach it to the backing. You can use hot glue, strong adhesive, or plastic wire clips إلى fasten فإن strip to the backing. If you are using hot glue, be careful not to burn yourself or damage the strip. Start by attaching one end of the strip to the starting point of your design on the backing.
Slowly and carefully work your way along the design, gluing or fastening the strip to the backing as you go. Make sure the strip is securely attached and follows the lines of your design. You can use zip ties to hold the strip in place while the glue dries. This is a crucial step to make your sign look like a real لافتة نيون.
Now it’s time to connect the LED strip segments and wire them to the مزود الطاقة. If you’re using a single-color LED strip, this usually involves connecting the positive and negative wires of each segment together. You can do this by soldering the wires directly or using connectors. If you are not comfortable with soldering, you can ask someone who is more experienced to do it for you.
If you’re using an RGB LED strip, you’ll need to connect the corresponding wires for red, green, blue, and common. Once the segments are connected, you’ll need to connect the main wires to the مزود الطاقة, matching the polarity correctly. It is always important to match the polarity correctly. Be sure to follow the instructions that come with your LED strip و مزود الطاقة. You may also want to add a باهتة switch to control the السطوع من لافتة نيون.
Before you finalize the installation, it’s crucial to test your DIY neon sign. Connect the مزود الطاقة to an electrical outlet and turn on the وقع. Check that all the مصابيح LED are illuminating correctly and that the colors are as expected. This is also the time to test your باهتة switch if you have installed one. If you notice any issues, such as flickering الأضواء or sections not lighting up, double-check your wiring and connections.
It is much easier to fix any problems at this stage than after the وقع is fully assembled and mounted. If everything is working correctly, you can proceed to the final step. Be sure to test your sign thoroughly before proceeding.
With your DIY neon sign tested and working, it’s time to add the finishing touches and mount it. You may want to add a frame or a backing to conceal the wiring and give your وقع a more polished look. Also, consider using some silicone to make it look more professional. You can also تخصيص your sign further by adding decorative elements or painting the backing.
To mount your لافتة نيون, you can use screws, hooks, or adhesive strips, depending on the size and weight of the وقع and the type of wall you’re mounting it on. Make sure the وقع is securely mounted to prevent it from falling and getting damaged. Once your وقع is mounted, step back and admire your handiwork. You can also add a ضوء النيون to make it look even better.
Besides using LED strips, there are other methods for creating a DIY neon sign. One popular alternative is using electroluminescent wire (EL wire). EL wire is a thin, flexible wire coated with phosphor that emits light when an alternating current is applied to it. It’s available in various colors and is relatively inexpensive. However, EL wire is typically not as bright as LED strips and requires an inverter to operate.
Another method involves using rope lights or أضواء نيون LED tubes. These are similar to LED strips but are encased in a flexible, diffused الأنبوب that creates a more continuous line of light, more closely resembling actual neon. These options offer different aesthetics and may be more suitable for certain designs. You can also use diy led strips to create a unique look.
Q: Can I make a DIY neon sign without soldering?
A: Yes, there are solderless connectors available for LED strips that allow you to make connections without soldering. You can also use EL wire, which typically comes with a battery pack and doesn’t require soldering.
Q: How long do DIY neon signs last?
A: The lifespan of a DIY neon sign يعتمد على نوع الإضاءة used. LED strip lights typically last for up to 50,000 hours, while EL wire may last for a few thousand hours.
Q: Are DIY neon signs safe?
A: إشارات النيون التي تصنعها بنفسك using LED strips أو EL wire are generally safe because they operate at low voltages and generate minimal heat. However, it’s important to follow safety precautions when working with electricity and to use quality materials.
Q: Can I use a DIY neon sign outdoors?
A: It depends on the materials used. Some LED strips و EL wire are rated for outdoor use, but you need to make sure that all connections are properly sealed and that the مزود الطاقة is weatherproof.
Q: How much does it cost to make a DIY neon sign?
A: The cost of a DIY neon sign can vary greatly depending on the size, materials, and complexity of the design. A simple وقع using LED strips can cost as little as $20-$50, while a more elaborate وقع with a custom backing and multiple colors can cost $100 or more.

Here are 10 key takeaways about making your own DIY neon sign: