


This article guides you through the process of creating your own letrero de neón personalizado, offering a DIY approach to achieve that vibrant glow. Whether you’re looking to craft a unique piece for your hogar o negocio or seeking a fun project, this guide has got you covered. This post is worth reading because it not only provides step-by-step instructions but also offers insights into using LED de neón technology as a safer and more eficiencia energética alternative to traditional neón de cristal. Learn how to design, build, and shine bright with your personalized letrero de neón.

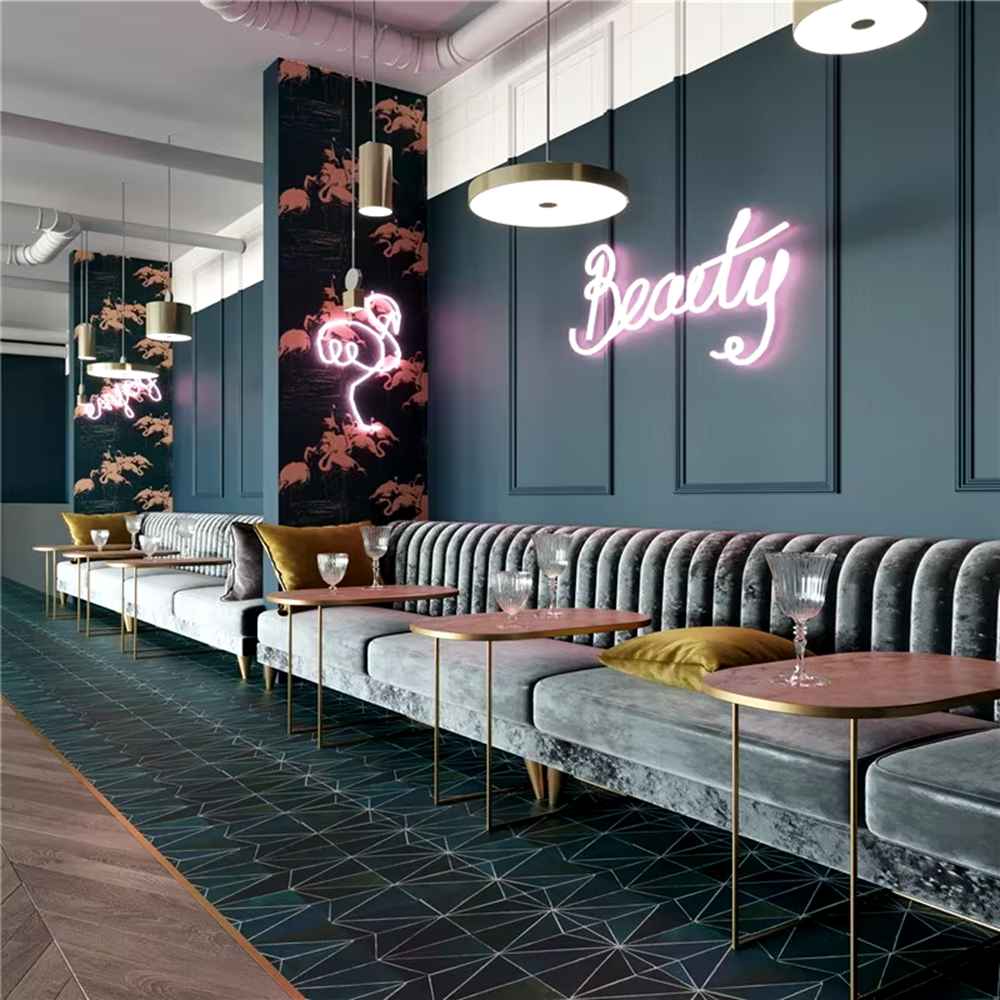
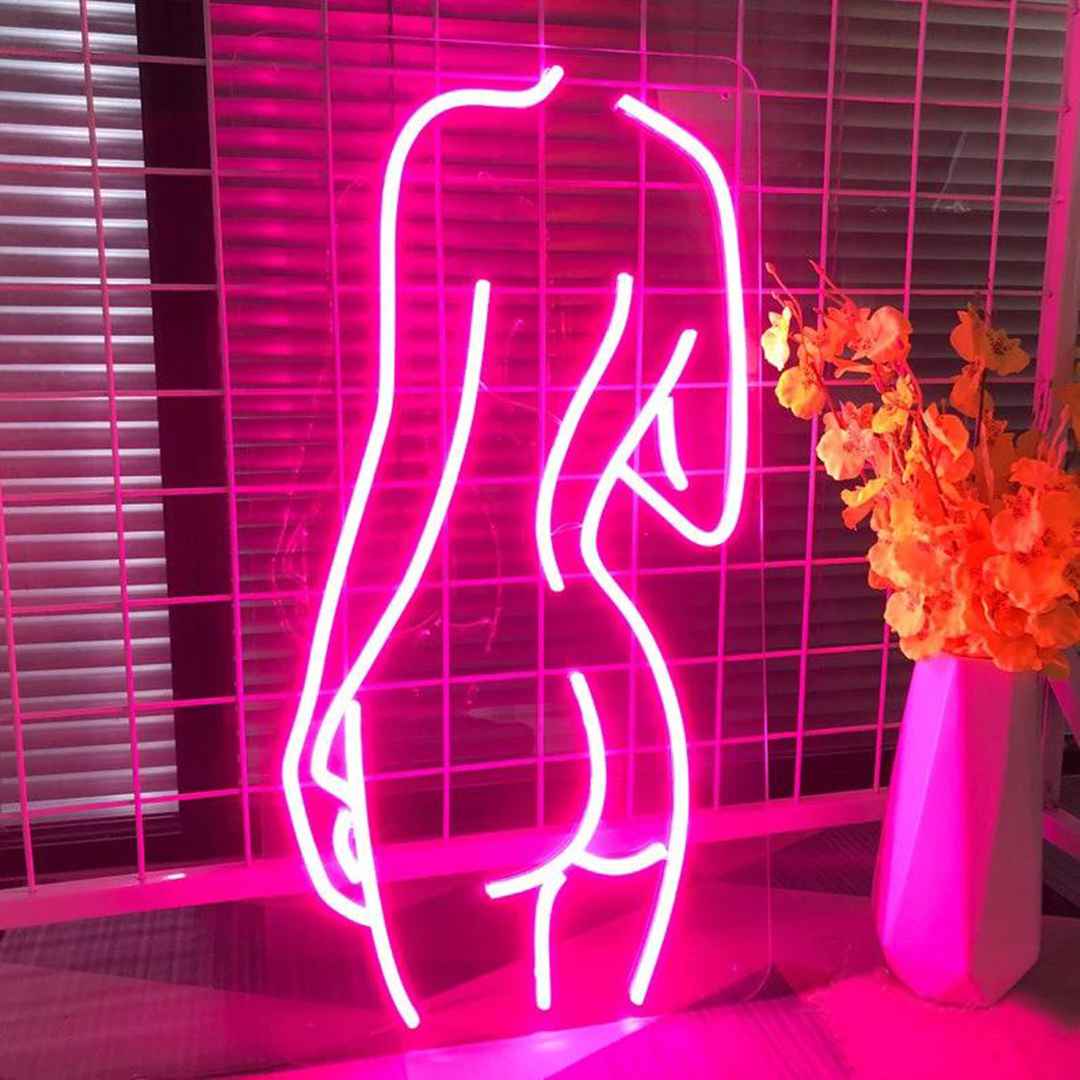
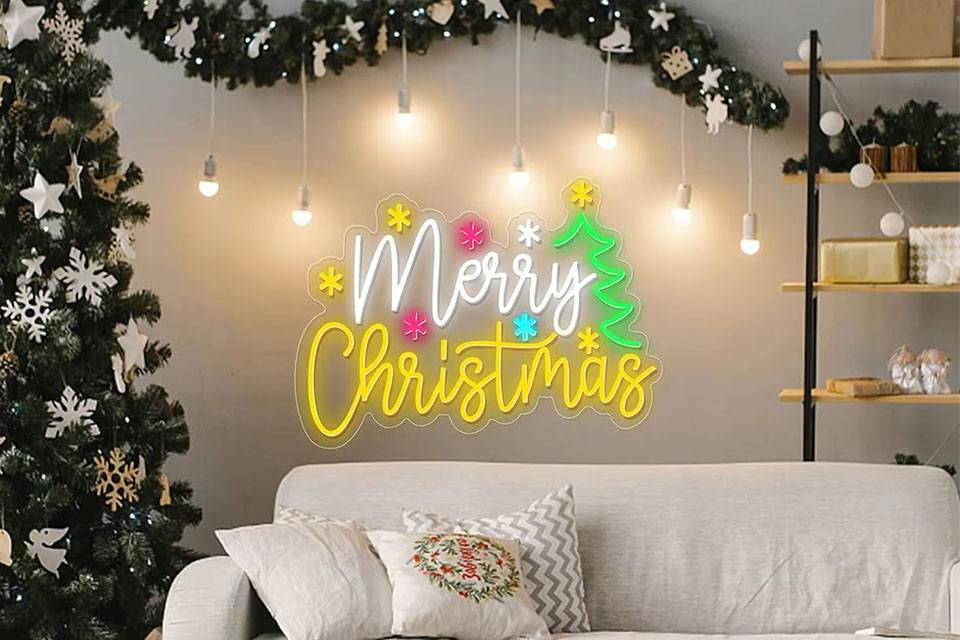
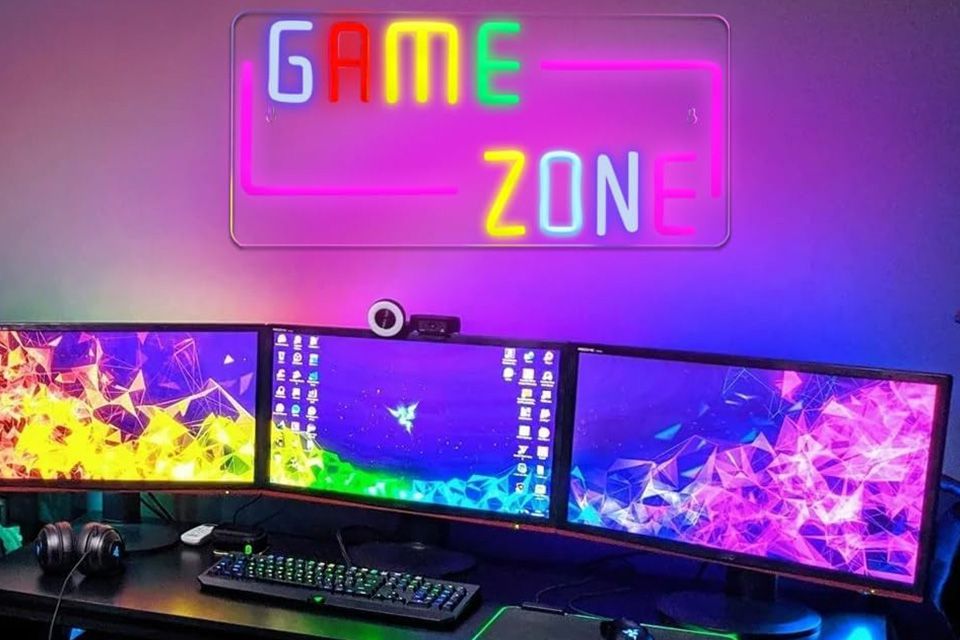
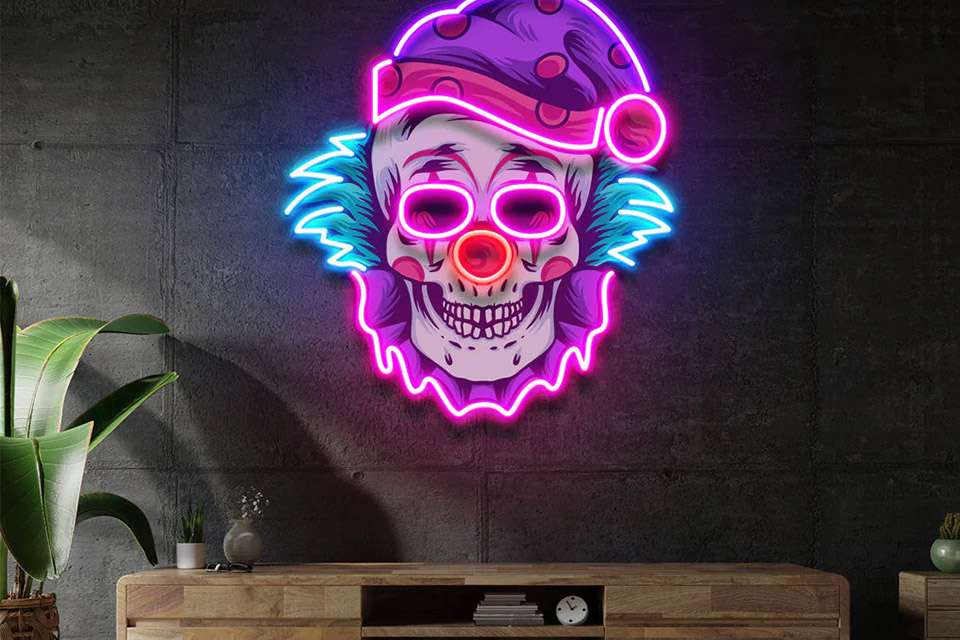
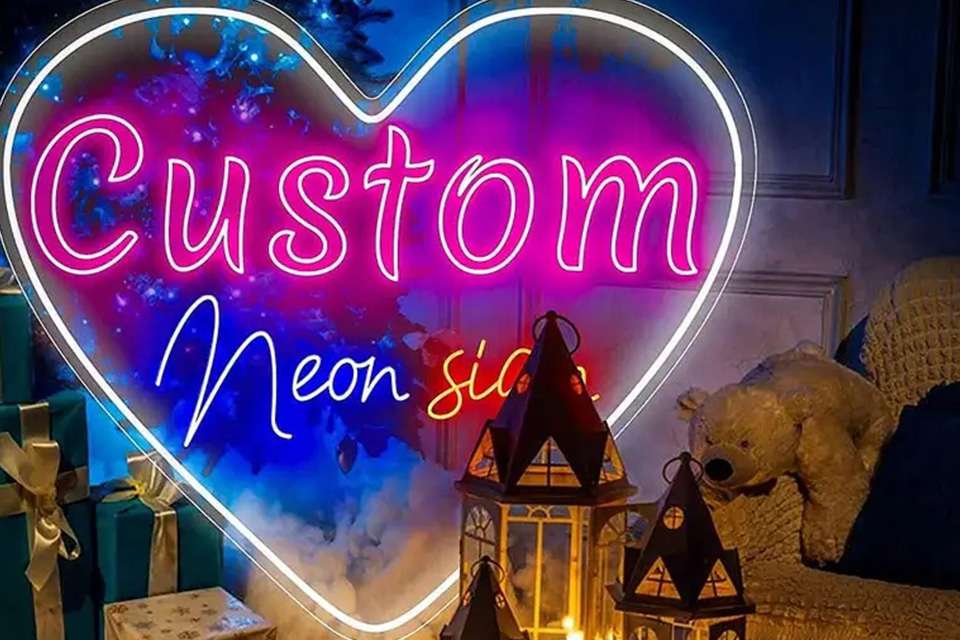
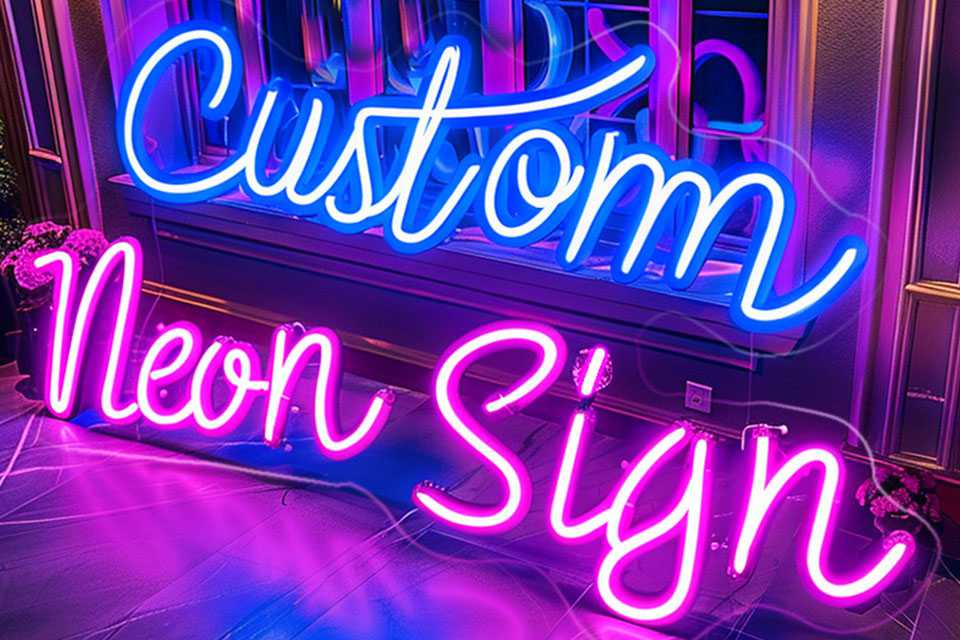
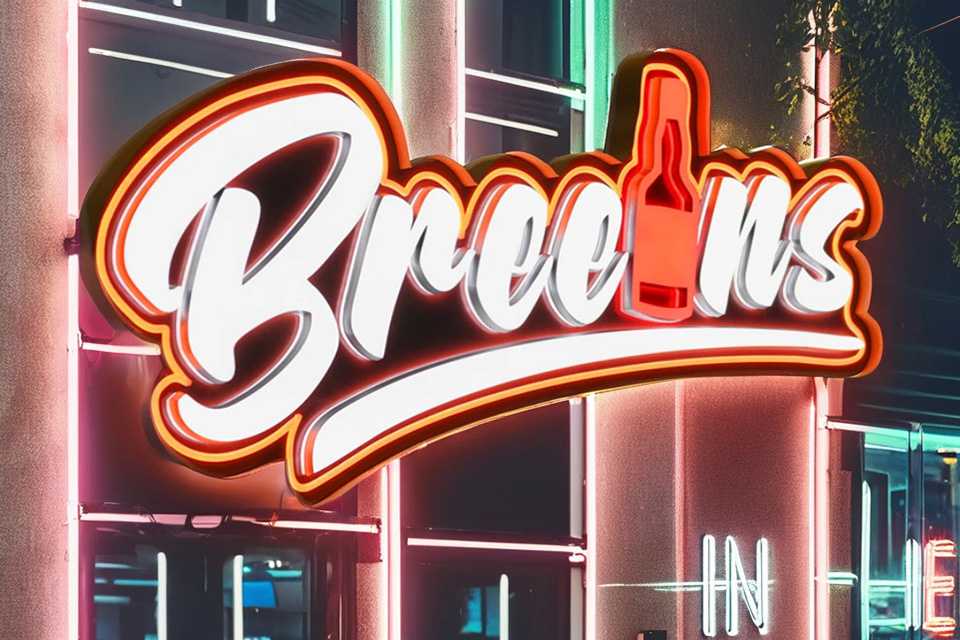
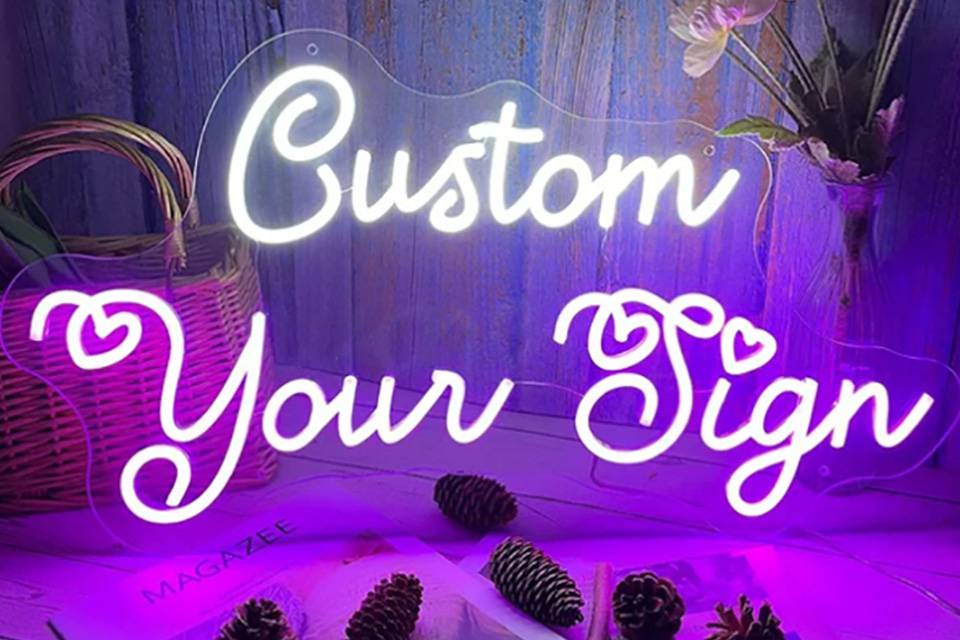
Before you create your own custom neon sign, take some time to get inspired. Think about the message, style, and colors that would best suit your needs. Custom neon lights can be a fantastic addition to your decoración del hogar, serving as a striking statement piece in your living room, bedroom, or game room. For businesses, a cartel personalizado can become an llamativo element of your branding, attracting customers and creating a memorable impression. You can find inspiration from a variety of sources. Browse online platforms, social media, and design websites to see what others have created. Consider visiting local businesses, restaurants, or letrero de neon bar abierto that use letreros luminosos to get ideas for your project.
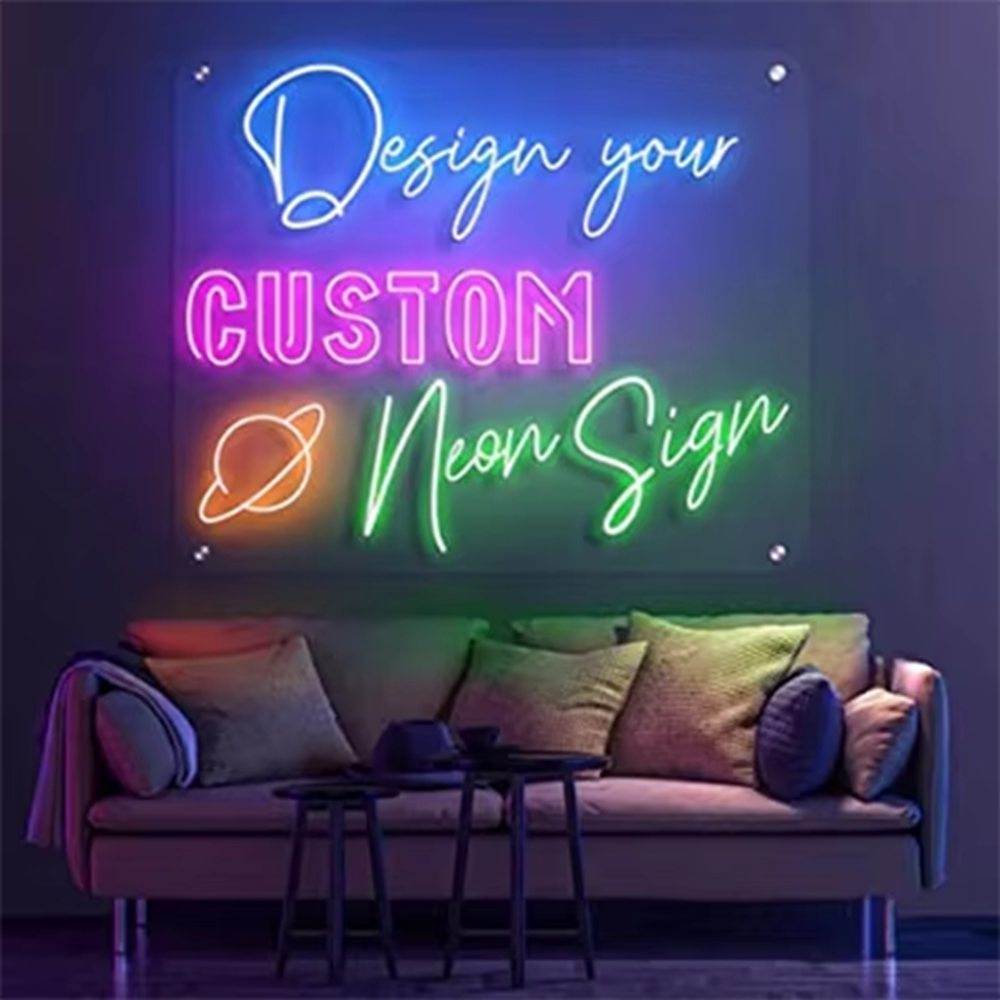
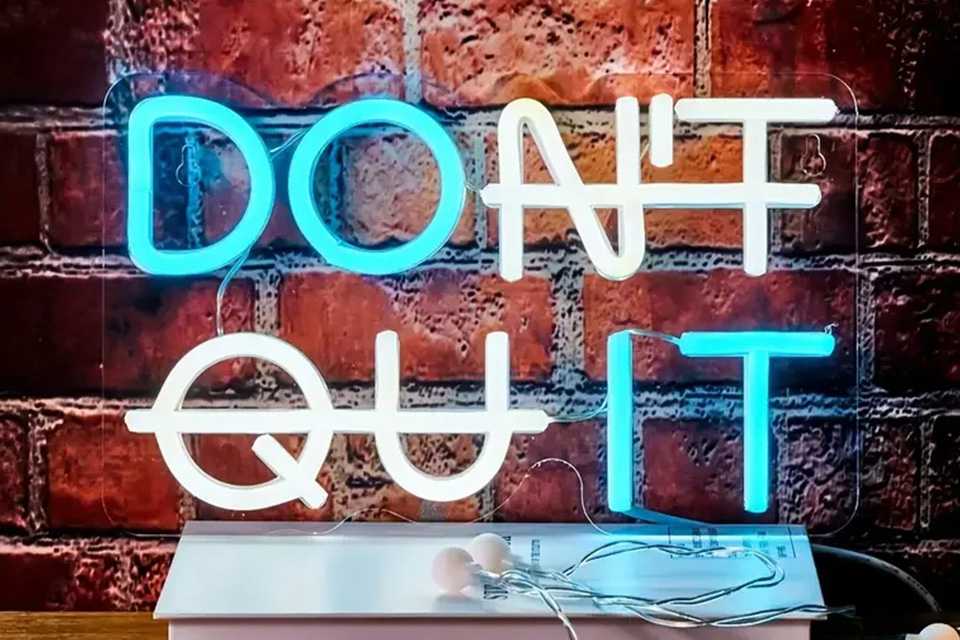
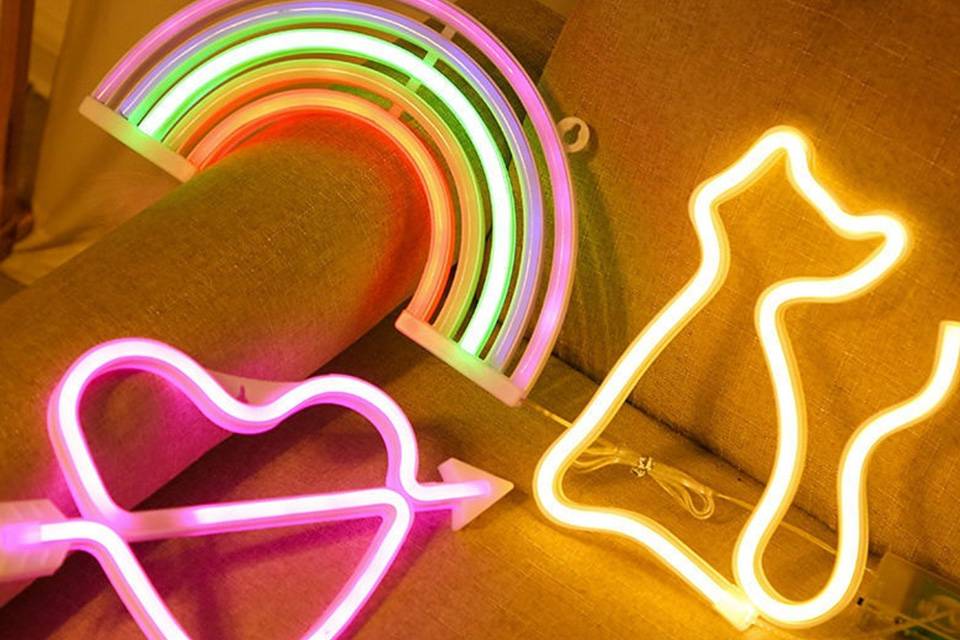
Think about the purpose of your letrero de neón. Do you want it to display a motivational quote, your name, or a unique design? For a business, your letrero de neón personalizado could feature your logo, a catchy slogan, or a design that reflects your brand’s personality. Personalized neon name signs are very popular and effective. The colors you choose also play a crucial role in the overall impact of your letrero de neón. LED de neón signs offer a wide range of color options, allowing you to create a design that truly stands out. An online neon sign maker can help you create a neon sign as well.
The first step in creating a Cartel de neón DIY is to design your cartel personalizado. Start by sketching your design on paper. Consider the size and shape of the letrero de neón and how it will fit into your intended space. If you’re designing a cartel para su empresa, make sure the design aligns with your brand’s aesthetic and message. Once you have a basic sketch, refine the design to make it more precise. You can use graphic design software to create a digital version of your letrero de neón, which will help you visualize the final product.
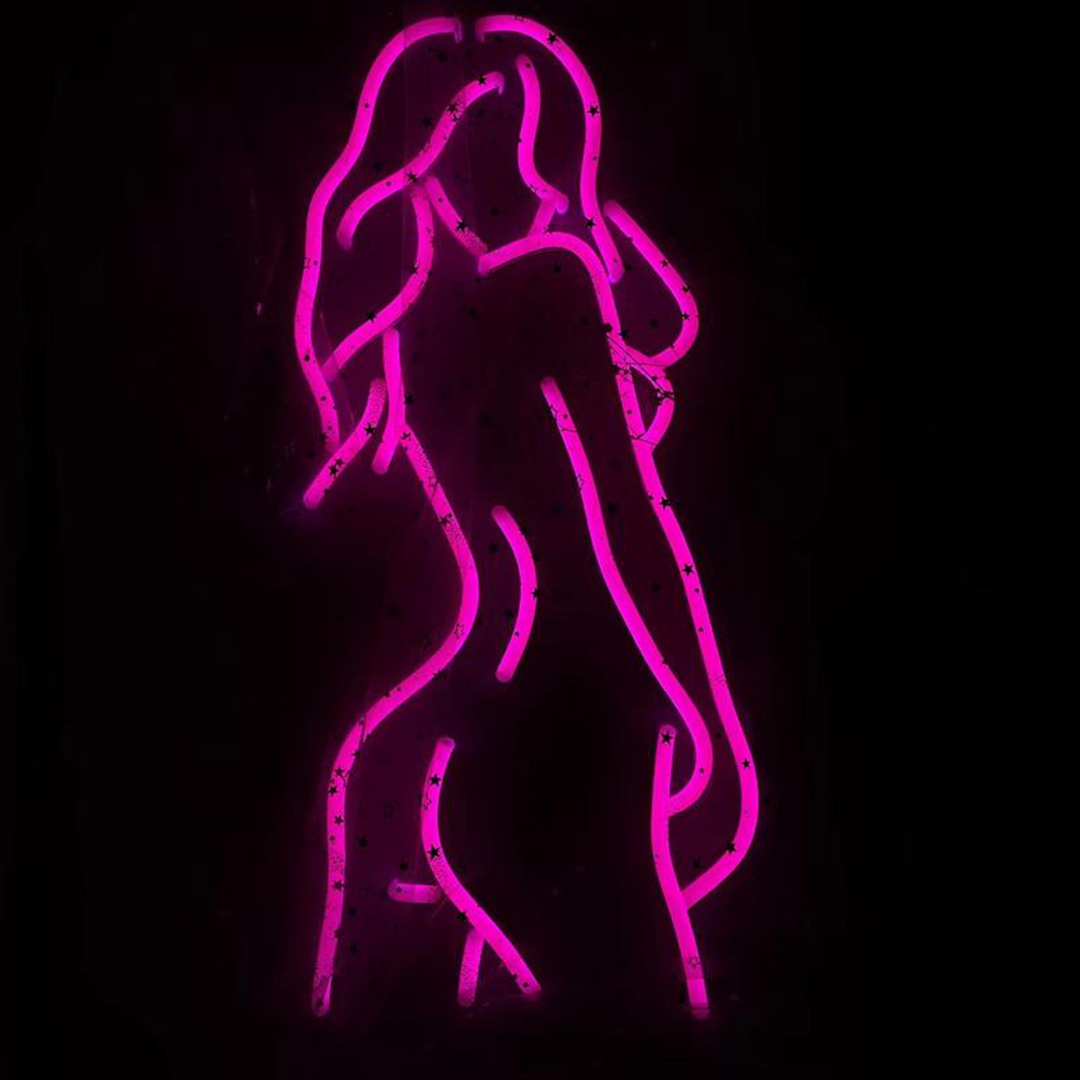
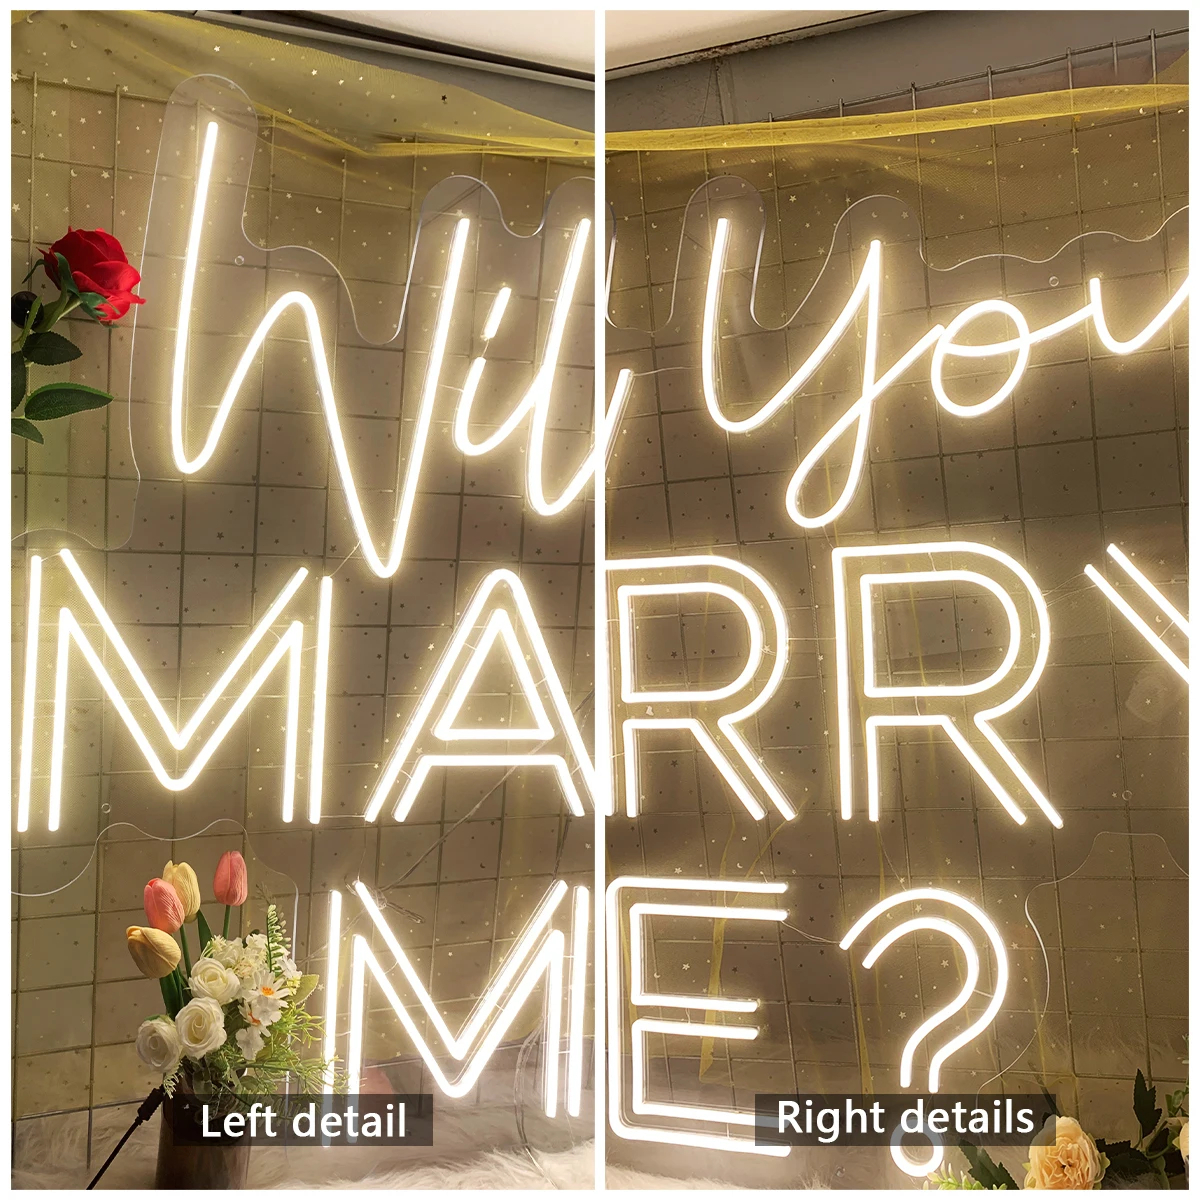
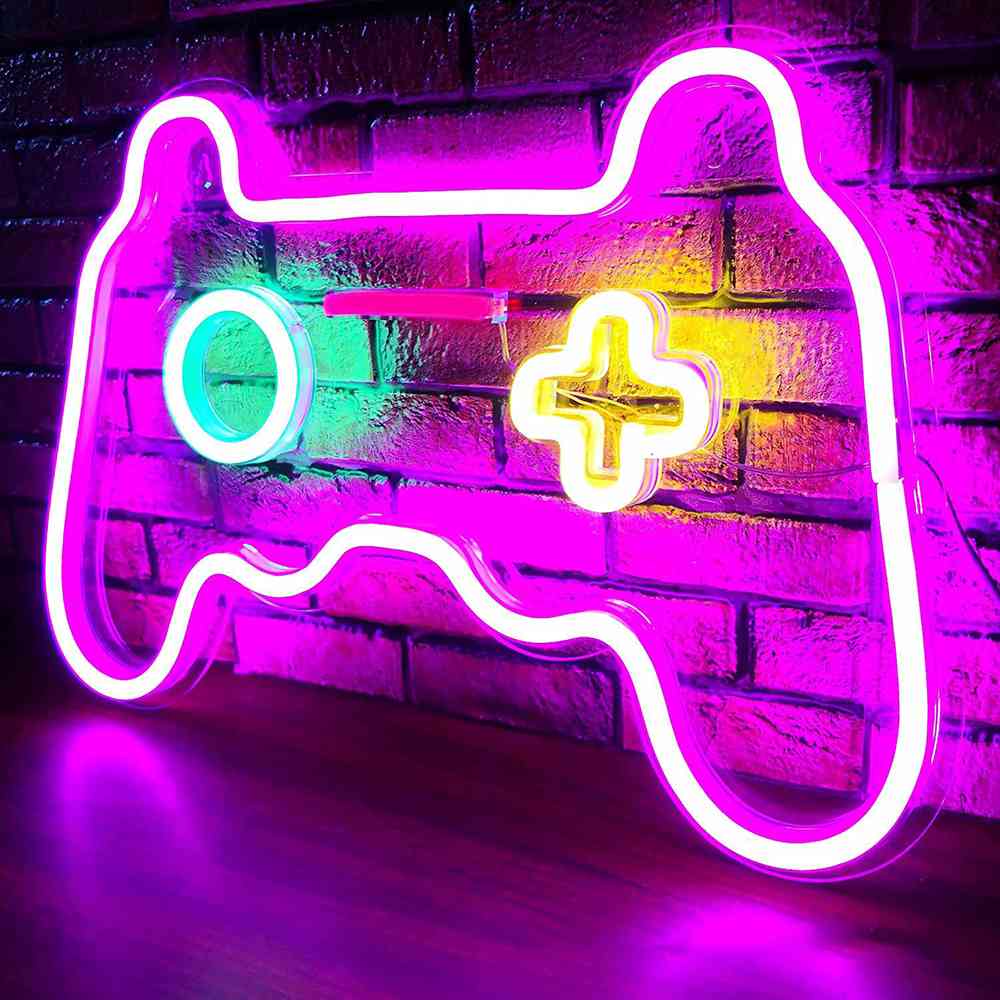
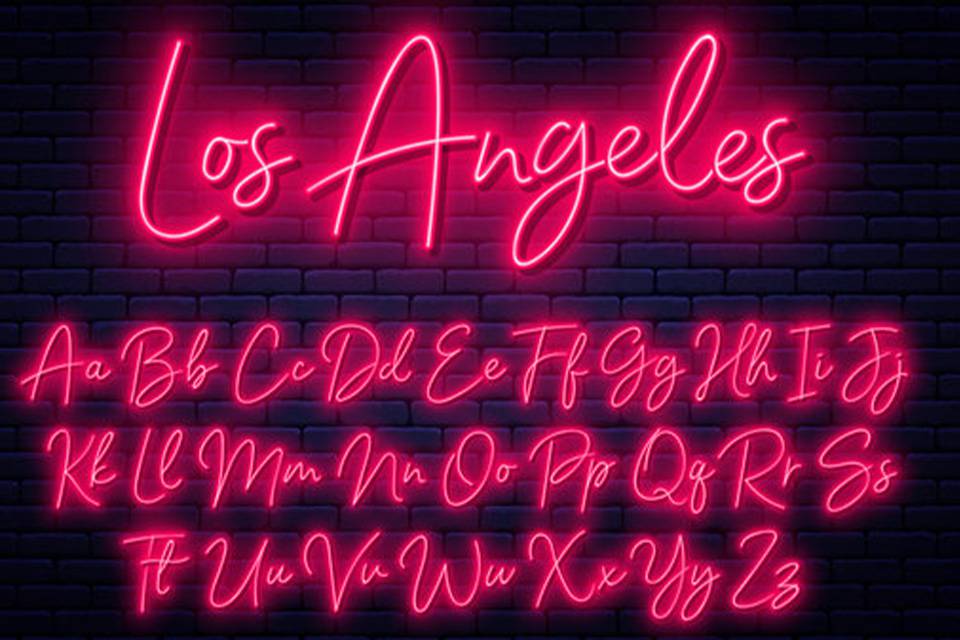
Al diseñar su letras de neón personalizadas, think about the elements you want to include. For text-based signs, choose a font that is easy to read and matches the style you’re aiming for. If you’re incorporating graphics or logos, ensure they are simple enough to be replicated with LED de neón flex. Keep in mind that LED de neón flex is flexible but has limitations, so avoid overly intricate details. Once you’re happy with your design, print it out at the actual size you want your letrero de neón to be. This will serve as a template for the next steps. Many neon signs that customers like are unique and reflect their personality.
Once your design is finalized, the next step is to gather all the materials and tools needed for your Cartel de neón DIY project. For this project, we’ll be using LED de neón flex, which is a safer, more eficiencia energética, and easier-to-work-with alternative to traditional neón de cristal. You’ll need LED de neón flex in your chosen colors, an acrylic sheet for the base, and a power supply compatible with your LED strip.
Here’s a list of materials and tools you’ll need:
Materials:
Tools:
Make sure you have all the materials and tools on hand before you start. This will help ensure a smooth and efficient process as you create your own neon sign. If you’re unsure about any of the materials or tools, consult with a specialist at a hardware store or sign shop.
With your materials gathered, it’s time to prepare the base for your letrero de neón. The base will be made from an acrylic sheet, which provides a sturdy and transparent backing for your LED de neón flex. Start by placing your printed design template on top of the acrylic sheet. Trace the outline of your design onto the acrylic using a marker. If your design includes any internal cut-outs, mark those as well. You can make a letrero de neón LED personalizado using an acrylic base as well.
Once your design is traced, use a drill to create pilot holes at the corners of any internal cut-outs. These holes will help you start the cuts with a jigsaw. If your design has intricate details or sharp angles, drill additional holes along the lines to make cutting easier. Take your time during this step to ensure accuracy, as the base will determine the overall shape and structure of your letrero de neón personalizado.
Now that your acrylic base is prepared with the design outline, it’s time to recortar el contorno de su letrero de neón. Using a jigsaw, carefully cut along the traced lines. If you’re cutting internal shapes, insert the jigsaw blade into the pilot holes you drilled earlier. Move slowly and steadily, following the lines as closely as possible. For sharp corners or tight curves, you may need to make relief cuts—small cuts perpendicular to the main line—to help the blade turn more easily.
After cutting out the main shape, go back and refine any rough edges or uneven lines. You can use a file or sandpaper to smooth out the edges and create a clean, professional-looking finish. This step is crucial for ensuring that your letrero de neón personalizado looks polished and well-crafted. Take your time to get the shape just right, as it will be the foundation of your letrero de neón. Cut at a 90 degree angle for the cleanest edges.

With your acrylic base cut to the desired shape, it’s time to attach the LED de neón flex. This is the step where your letrero de neón really starts to come to life. Begin by laying out the LED de neón flex along the outline of your design on the acrylic base. This will help you determine the lengths needed and plan the placement of each section. For a letrero de neón LED personalizado, you might use multiple colors or sections of LED flex.
Once you have a plan, start attaching the LED de neón flex to the acrylic base using a strong adhesive or pegamento caliente. Apply a small amount of glue along the channel or edge of the LED strip, then carefully press it onto the acrylic, following the lines of your design. Work in small sections to ensure the glue doesn’t dry before you have a chance to position the LED flex correctly. Hold each section in place for a few seconds to allow the glue to set. If your design includes sharp bends or curves, you may need to make small cuts in the LED strip’s backing (not the LEDs themselves) to help it flex more easily.
After attaching the LED de neón flex to the acrylic base, the next step is to soldar the electrical connections. This step requires careful attention to detail to ensure your letrero de neón functions correctly and safely. If you’re using multiple sections of LED de neón flex, you’ll need to connect them in a series or parallel circuit, depending on your power supply and the specific requirements of your LED strip. Use a soldering iron to join the wires, making sure to create secure and clean connections.
Once the sections are connected, you’ll need to connect the LED de neón flex to the power supply. Follow the manufacturer’s instructions for your specific LED strip and power supply to ensure proper wiring. Typically, you’ll connect the positive wire from the LED strip to the positive terminal on the power supply and the negative wire to the negative terminal. Double-check all connections to ensure they are secure and properly insulated with electrical tape or heat-shrink tubing. Incorrect wiring can damage your LED strip or create a safety hazard, so take your time and double-check your work.
Before finalizing the assembly of your letrero de neón personalizado, it’s crucial to test it to ensure everything is working correctly. Connect the power supply to a power outlet and turn on your letrero de neón. En LED de neón flex should light up, creating the vibrant glow you’ve been working towards. Inspect the entire firmar to make sure all sections are illuminated evenly and that there are no flickering or dim areas. This is your chance to identify any issues with the wiring or connections.
If you notice any problems, such as sections not lighting up or flickering, turn off the letrero de neón and carefully inspect the connections. Look for any loose wires or areas where the soldar joints might be weak or broken. Re-solder any faulty connections and test the firmar again. It’s better to catch and fix any issues now before you complete the final assembly. Once you’re satisfied that everything is working correctly, you can proceed to the final steps.
Con su letrero de neón tested and working, it’s time to add the final touches and prepare it for mounting. If you want to give your letrero de neón personalizado a more polished look, consider adding a backing or frame. This can be made from a variety of materials, such as wood, metal, or acrylic, depending on your design and preference. A backing can also provide added support and protection for the LED de neón flex and wiring. You can make letreros de neón personalizados to add a nice touch to your home.
Para montar su letrero de neón, you can use a variety of methods depending on the size and weight of the firmar and where you plan to display it. For smaller signs, adhesive strips or hooks might be sufficient. Larger signs may require more robust mounting hardware, such as screws or brackets. Ensure that the mounting method you choose can adequately support the weight of your letrero de neón and that it’s securely attached to the wall or other surface. Before drilling any holes, use a level to make sure your letrero de neón will hang straight.
Can I create a custom neon sign without any experience? Yes, with the availability of LED de neón flex and detailed guides like this one, even beginners can create their own letrero de neón personalizado. The process involves basic crafting skills, and no prior experience with traditional neón de cristal is required.
Is it safe to make a DIY neon sign? Using LED de neón flex is generally safe, as it operates at low voltage and produces minimal heat. However, always follow safety precautions when working with electrical components and tools.
How long does it take to make a custom neon sign? The time required can vary depending on the complexity of the design and your experience level. On average, it might take a few hours to a full day to complete a Cartel de neón DIY.
Can I use any type of LED strip for a neon sign? It’s best to use LED de neón flex specifically designed for this purpose. It’s more flexible, durable, and provides a continuous line of light that mimics the look of traditional neón.
What is the best way to cut an acrylic sheet for the base? A jigsaw is the most common tool for cutting acrylic sheets. Move slowly and steadily, and use relief cuts for sharp corners or curves.
How do I power my LED neon sign? You’ll need a power supply that is compatible with your LED de neón flex. The power supply converts household electricity to the low voltage required by the LEDs.
Can I make a multi-colored neon sign? Yes, you can use different colors of LED de neón flex to create a multi-colored design. You can connect them in separate circuits or use an Tira de LED RGB with a controller for more dynamic color options.
What should I do if my neon sign doesn’t light up? Check all connections, including the wiring between LED sections and the power supply. Ensure the power supply is working correctly and that all soldar joints are secure.
How do I mount my finished neon sign? Mounting methods vary depending on the size and weight of the firmar. Options include adhesive strips, hooks, screws, or brackets.
Where can I buy materials for a DIY neon sign? Materials like LED de neón flex, acrylic sheets, and power supplies can be found at hardware stores, online retailers, and specialty sign shops.

By following these steps and tips, you can create a stunning letrero de neón personalizado that adds a unique and vibrant touch to your home or business. Enjoy the process and the satisfaction of seeing your Cartel de neón DIY shine bright!