Insegne al neon fai da te: Una guida per principianti per creare il vostro arredamento vivace
Indice dei contenuti
Embarking on a Insegne al neon fai da te project is a fantastic way to infuse your space with personalized, eye-catching décor. Whether you’re a beginner or looking to elevate your crafting skills to a pro level, this comprehensive tutorial will guide you through the process of making your own neon signs. From selecting the right materials to mastering the techniques of shaping wire and soldering, this article is your go-to resource for creating stunning Insegne al neon a LED that illuminate your creativity and transform any room into a vibrant masterpiece.
What You Need to Get Started with DIY Neon Signs
Creating your own neon sign is a rewarding project that combines creativity with technical skills. To begin your DIY neon sign journey, you’ll need a set of essential materials and tools. Here’s a comprehensive list to help you prepare:
Essential Materials
- LED Strip Lights: Flexible LED strips are the backbone of your neon sign, providing the vibrant colors and illumination needed to mimic traditional neon lights.
- Alimentazione: Ensure you have a compatible power supply to handle the voltage and current requirements of your LED strips.
- Acrylic Sheet or Poster Board: These serve as the base for your sign, providing a sturdy surface to attach your LED strips.
- Wire: For connecting different sections of your LED strips and ensuring a seamless power flow.
- Hot Glue: To secure your LED strips and other components firmly in place.
- Zip Ties and Plastic Wire Clips: Useful for organizing and securing wires neatly.
- Soldering Kit: Essential for making reliable electrical connections between wires and LED strips.
Necessary Tools
- Wire Cutters and Strippers: For preparing wires to the appropriate length and removing insulation without damage.
- Soldering Iron: For melting solder onto the connections, ensuring a strong and conductive bond.
- Hot Glue Gun: Provides a quick and durable way to fix components in place.
- Jigsaw: Useful for cutting your acrylic sheet or poster board to the desired shape.
- Safety Gear: Protect your eyes and hands while working with tools and materials.
Having all these materials and tools on hand will streamline your DIY neon sign project, making the process enjoyable and efficient.
Step 1: Designing Your Custom Neon Sign
The foundation of any successful DIY neon sign is a well-thought-out design. This step involves conceptualizing what you want your sign to look like and planning the layout accordingly.
Sketching Your Design
Begin by sketching your desired sign on paper or using digital design software. Whether it’s a simple word, a logo, or an intricate pattern, having a clear design will guide your project. Consider the size, shape, and color scheme that best fits the intended space and purpose of your sign.
Translating Design to Layout
Once your sketch is complete, transfer the design onto your acrylic sheet or poster board. Use a pencil to lightly outline the shape, ensuring precision and symmetry. This layout will serve as the blueprint for placing your LED strips accurately, resulting in a professional and visually appealing sign.
Step 2: Selecting the Right LED Strip for Your Project
Choosing the appropriate LED strip is crucial for achieving the desired brightness, color, and flexibility in your neon sign.
Types of LED Strips
- RGB LED Strips: Offer a wide range of colors and are perfect for dynamic and customizable designs.
- Single-Color LED Strips: Ideal for maintaining a consistent color throughout your sign, providing a classic neon look.
Factors to Consider
- Luminosità: Ensure the LED strips provide sufficient illumination for your sign’s intended location.
- Flexibility: Opt for flexible LED strips that can easily bend around curves and intricate shapes.
- Power Requirements: Match the LED strips with a compatible power supply to prevent issues like flickering or insufficient lighting.
Selecting the right LED strip will enhance the overall quality and appearance of your DIY neon sign, making the subsequent steps smoother and more effective.
Step 3: Preparing the Materials and Tools
Before diving into the construction phase, it’s essential to prepare all your materials and tools to ensure a seamless workflow.
Organizing Your Workspace
Set up a clean and well-lit workspace where you can comfortably work on your project. Organize your tools and materials within easy reach to minimize interruptions and enhance productivity.
Safety Precautions
Always prioritize safety by wearing appropriate gear, such as safety glasses and gloves. When using tools like a soldering iron or jigsaw, follow all safety instructions to prevent accidents and injuries.
Proper preparation sets the stage for a successful DIY neon sign project, allowing you to focus on creativity without unnecessary setbacks.
Step 4: Cutting and Shaping the LED Strips
Once your design is ready and your materials are prepared, the next step involves cutting and shaping the LED strips to match your layout.
Measuring and Cutting
Carefully measure the lengths required for each section of your design. Use wire cutters to trim the LED strips to the precise lengths needed, ensuring a snug fit within your outlined layout.
Shaping the Strips
For intricate designs, gently bend the LED strips along the marked curves. Avoid sharp angles that could damage the strips, maintaining the integrity and functionality of your neon sign.
Shaping your LED strips accurately is essential for creating a cohesive and aesthetically pleasing sign that faithfully represents your original design.
Step 5: Assembling the Neon Sign Frame
With your LED strips cut and shaped, it’s time to assemble the frame of your neon sign.
Attaching LED Strips to the Base
Begin by securing the LED strips onto your acrylic sheet or poster board using hot glue. Follow your sketched layout closely, ensuring each strip is firmly in place and aligned with your design.
Reinforcing the Structure
For added stability, use zip ties and plastic wire clips to manage and secure any loose wires. This not only enhances the durability of your sign but also maintains a clean and professional appearance.
A well-assembled frame ensures that your neon sign remains sturdy and visually appealing, ready to illuminate any space with your custom design.
Step 6: Soldering and Wiring the LED Strips
Connecting your LED strips to a power source is a critical step that requires precision and care.
Preparing the Wires
Strip a small section of insulation from the ends of your wires using wire strippers. This exposure allows for a secure soldering connection between the wires and the LED strips.
Soldering the Connections
Using a soldering iron, carefully apply solder to the exposed wire ends and the designated connection points on the LED strips. Ensure that each connection is solid and free from excess solder, preventing short circuits and ensuring reliable power flow.
Wiring the Sign
Connect the soldered wires to your power supply, following the manufacturer’s guidelines for voltage and polarity. Use zip ties to neatly arrange and secure the wires, maintaining a tidy and functional sign.
Proper soldering and wiring are essential for the longevity and performance of your DIY neon sign, ensuring it operates smoothly and safely.
Step 7: Testing and Troubleshooting Your Neon Sign
Before finalizing your project, it’s important to test your neon sign to ensure everything functions as intended.
Powering Up
Connect your neon sign to the power supply and switch it on. Observe the illumination of the LED strips, checking for any dim sections or flickering lights that may indicate issues.
Troubleshooting Common Issues
- Dim Lights: Check for loose connections or insufficient power supply.
- Flickering: Ensure all soldered connections are secure and free from excess solder.
- Non-Illuminating Sections: Inspect the LED strips for any damaged segments or faulty wiring.
Addressing these issues promptly ensures that your neon sign performs optimally, providing the vibrant glow you envisioned for your décor.
Step 8: Mounting and Displaying Your Custom Neon Sign
With your neon sign tested and functioning, it’s time to mount and display it in your desired location.
Choosing the Right Spot
Select a location that complements your décor and allows the neon sign to be easily seen and appreciated. Whether it’s hanging on a wall, mounted above a desk, or showcased in a window, placement is key to maximizing its visual impact.
Mounting Techniques
- Wall Mounting: Use appropriate mounting hardware to securely attach your sign to the wall. Ensure it’s level and firmly in place to prevent accidents.
- Freestanding Display: For portable signs, consider using stands or bases that provide stability and easy relocation.
Final Adjustments
Make any necessary adjustments to the position or angle of your neon sign to achieve the perfect illumination and aesthetic appeal in your space.
Proper mounting ensures that your DIY neon sign not only enhances your décor but also remains a safe and functional addition to your environment.
Creative Ideas for Custom Neon Signs
The possibilities for custom neon signs are endless, limited only by your imagination. Here are some creative ideas to inspire your next DIY neon project:
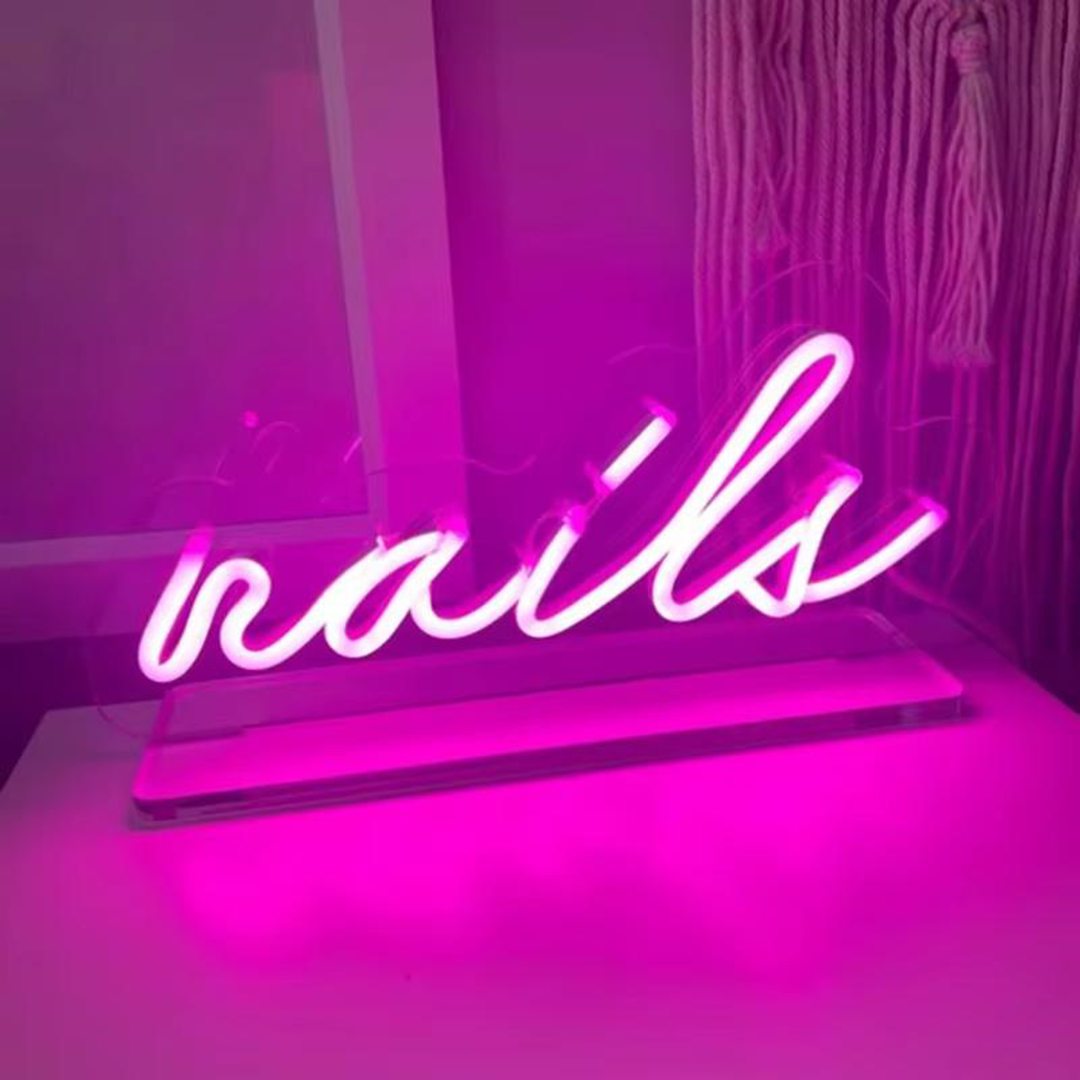
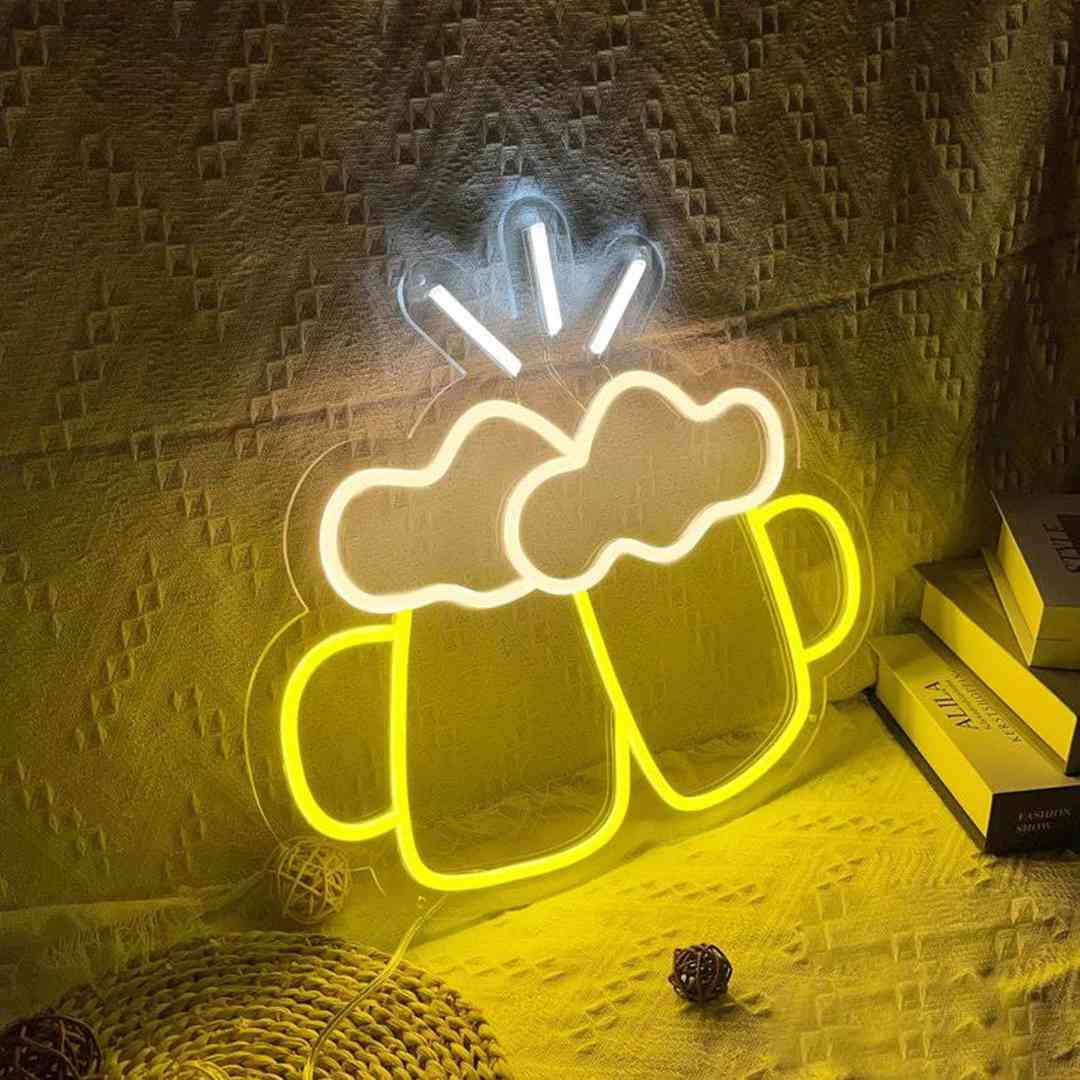
Funny Neon Signs
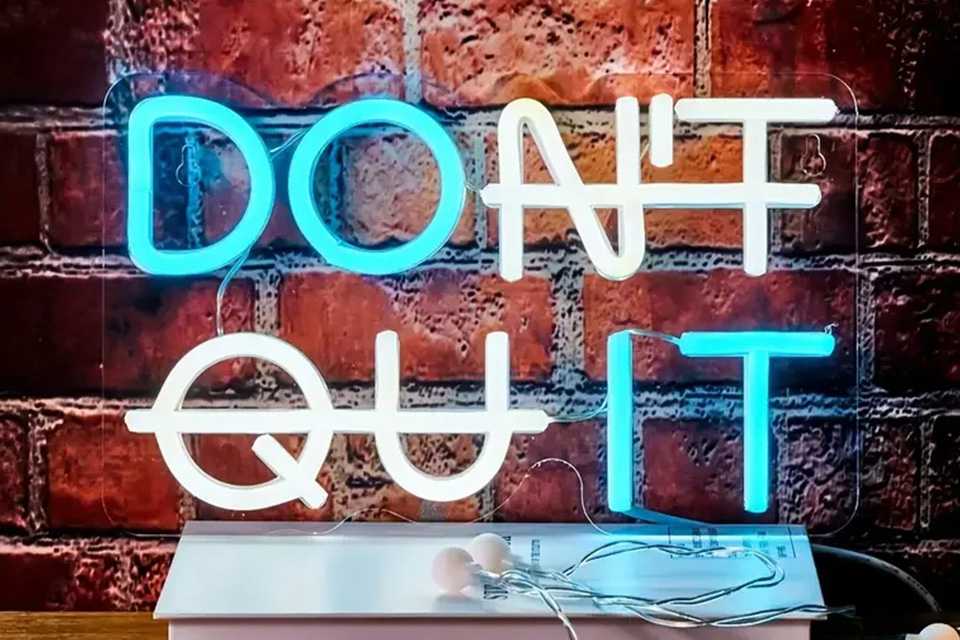
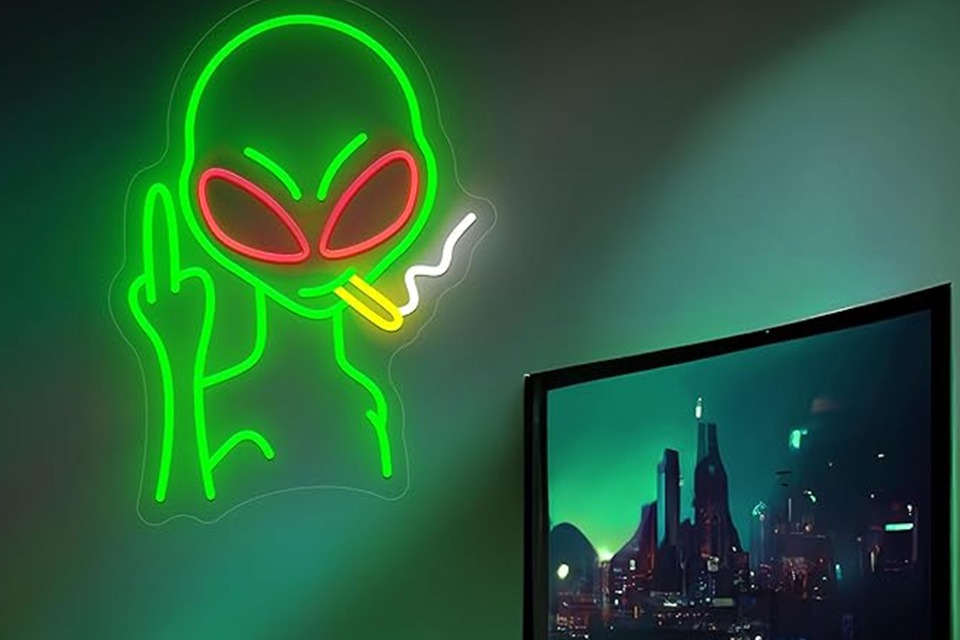
Inject humor into your space with funny neon signs featuring witty quotes, playful graphics, or amusing phrases. These signs add a touch of personality and can serve as great conversation starters.
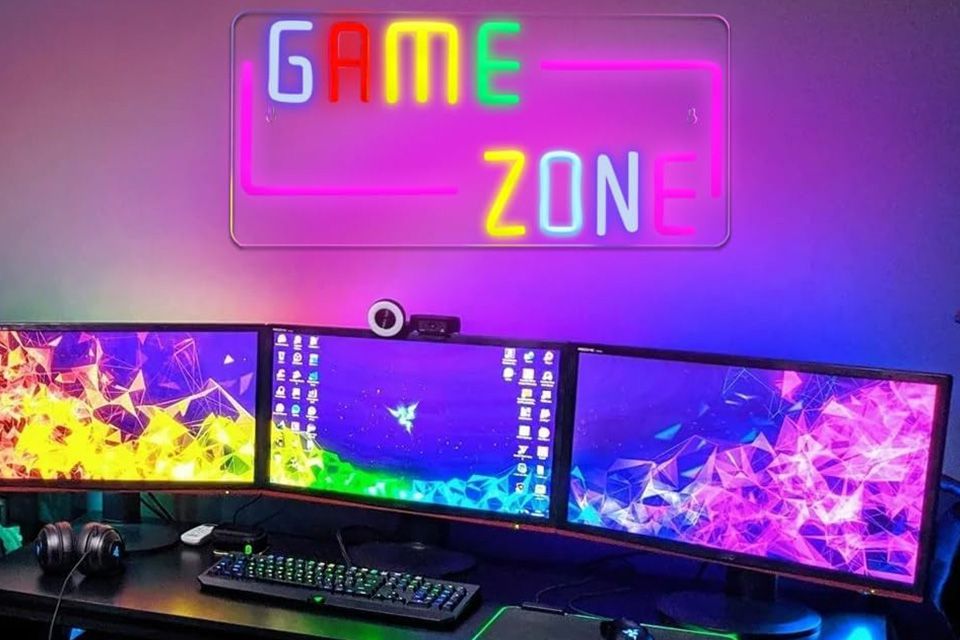
Office Neon Signs
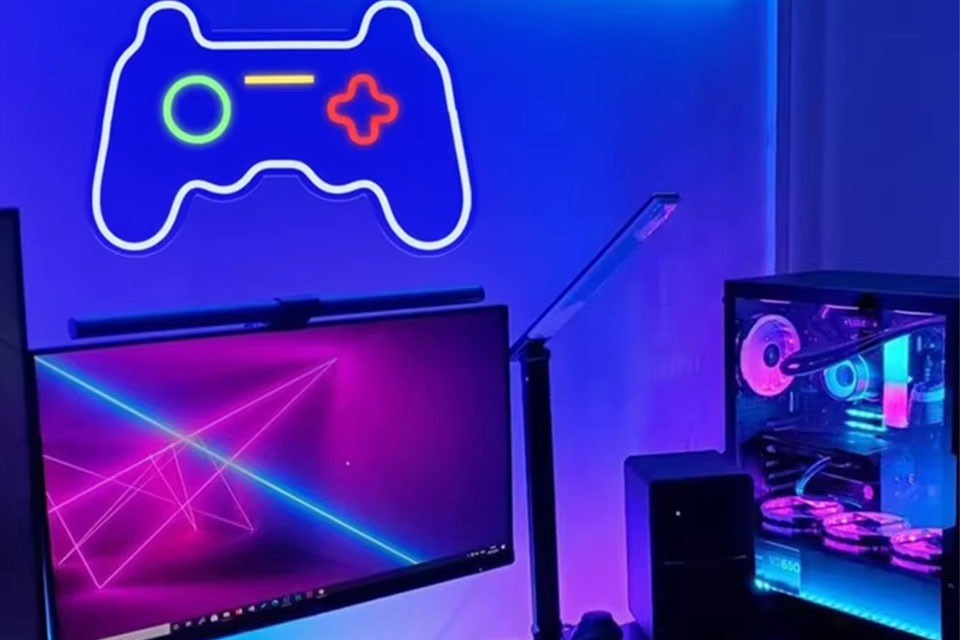
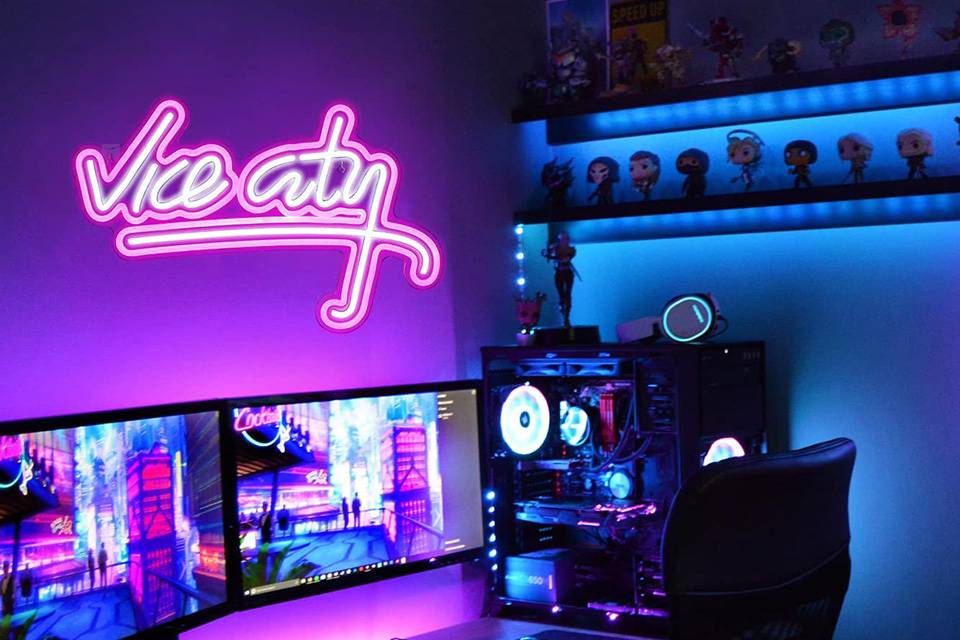
Enhance your workspace with office neon signs that reflect your professional identity. From motivational quotes to company logos, neon signs can create a dynamic and inspiring work environment.
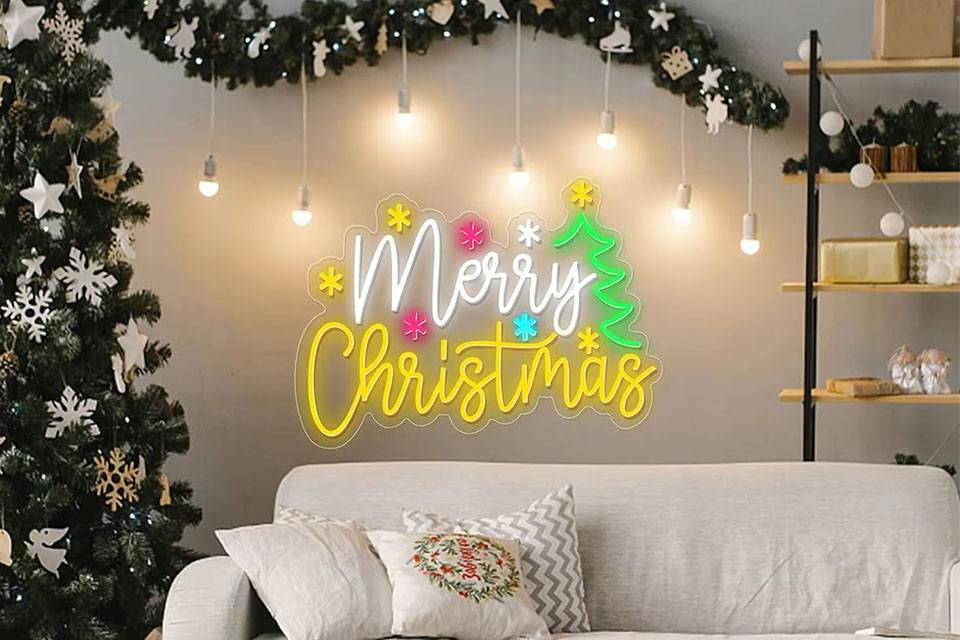
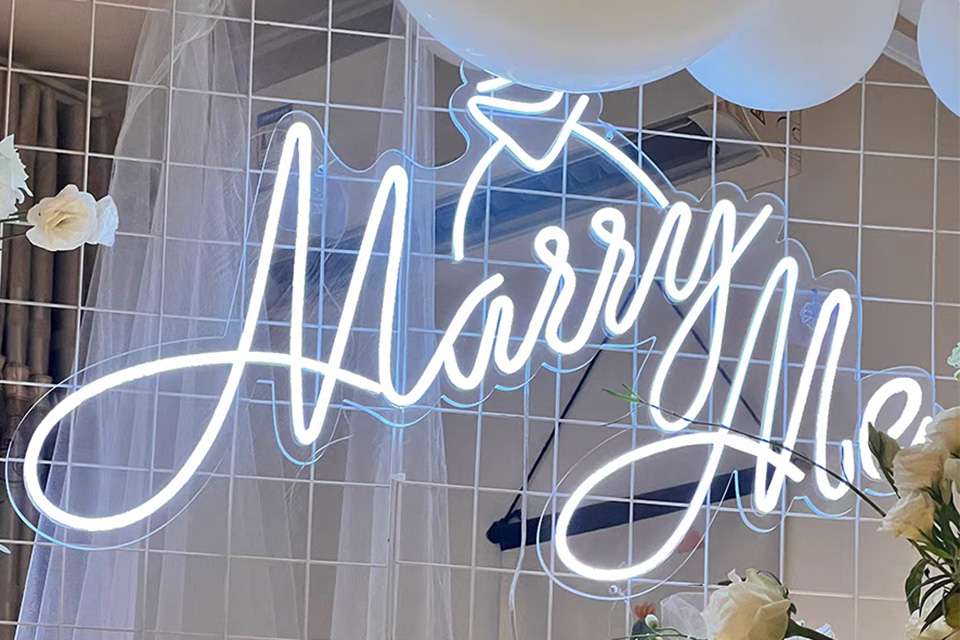
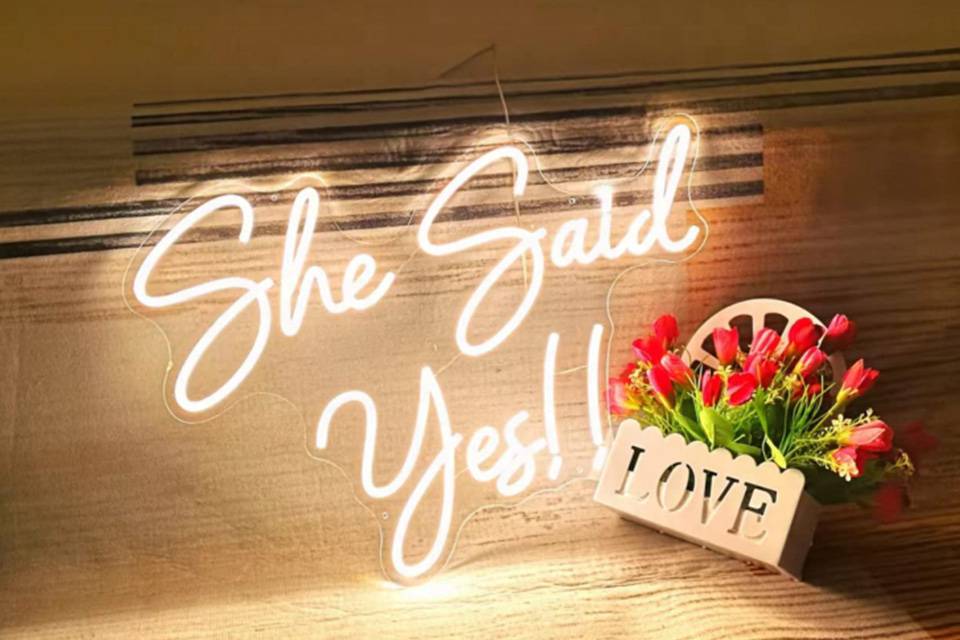
Insegne al neon per matrimoni
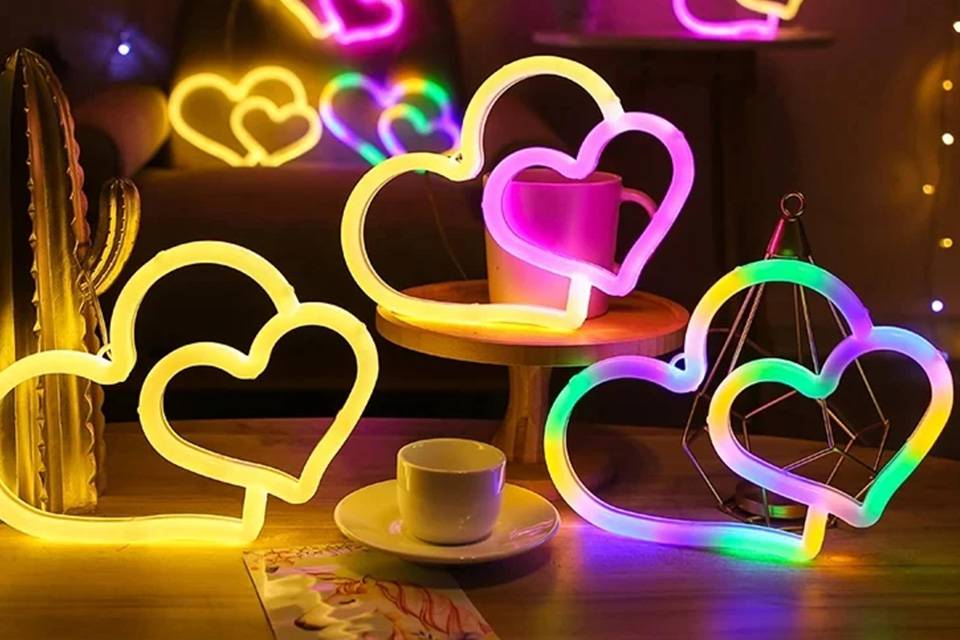
Make your special day even more memorable with personalized insegne al neon per matrimoni. Whether it’s your names, wedding date, or a meaningful symbol, neon signs add a romantic and stylish flair to your décor.
Unique Neon Art
Transform your home or office into an art gallery with unique neon artwork. Create abstract designs, artistic representations, or themed motifs that showcase your artistic taste and creativity.
Playful Neon Signs
Add a fun and vibrant touch to any room with playful neon signs featuring cartoon characters, playful shapes, or whimsical designs. These signs bring joy and energy to your living spaces.
Embracing these creative ideas allows you to customize your neon signs to perfectly match your style and the ambiance you wish to create in any setting.
Table: DIY Neon Sign Project Timeline
| Phase | Tasks | Estimated Time |
|---|---|---|
| Design | Sketching and planning the layout | 2-3 hours |
| Material Preparation | Gathering materials and tools | 1-2 hours |
| Cutting and Shaping | Cutting LED strips and shaping to design | 3-4 hours |
| Assembly | Attaching LED strips and assembling the frame | 4-5 hours |
| Wiring and Soldering | Soldering connections and wiring | 3-4 hours |
| Testing | Powering up and troubleshooting | 2 hours |
| Mounting | Mounting and final adjustments | 1-2 hours |
| Total Estimated Time | 16-20 hours |
This timeline provides a structured approach to managing your DIY neon sign project, helping you allocate time efficiently and stay organized throughout the process.
Summary: 10 Key Takeaways for Creating Your Own Neon Sign
- Plan Your Design: Start with a clear sketch or digital design to guide your project effectively.
- Choose the Right LED Strips: Select LED strips that match your brightness and flexibility requirements.
- Gather Essential Materials: Ensure you have all necessary materials and tools before starting.
- Organize Your Workspace: A clean and well-lit workspace enhances productivity and safety.
- Cut and Shape Carefully: Precision in cutting and shaping LED strips is crucial for a professional look.
- Assemble with Precision: Securely attach LED strips to your base, maintaining alignment with your design.
- Master Soldering Techniques: Reliable soldering ensures strong electrical connections and sign durability.
- Thoroughly Test Your Sign: Identify and fix any issues before mounting to ensure optimal performance.
- Mount Securely: Choose the right mounting method to display your sign safely and attractively.
- Explore Creative Ideas: Customize your sign with unique designs to reflect your personality and style.
Creating your own neon sign is a fulfilling project that combines artistry with technical skills. By following this beginner-friendly tutorial, you can craft stunning LED neon signs that not only illuminate your space but also serve as personalized expressions of your creativity. Whether for home décor, office ambiance, or special events, DIY neon signs are a versatile and vibrant addition to any setting. Embrace the process, experiment with designs, and enjoy the glowing results of your craftsmanship!

