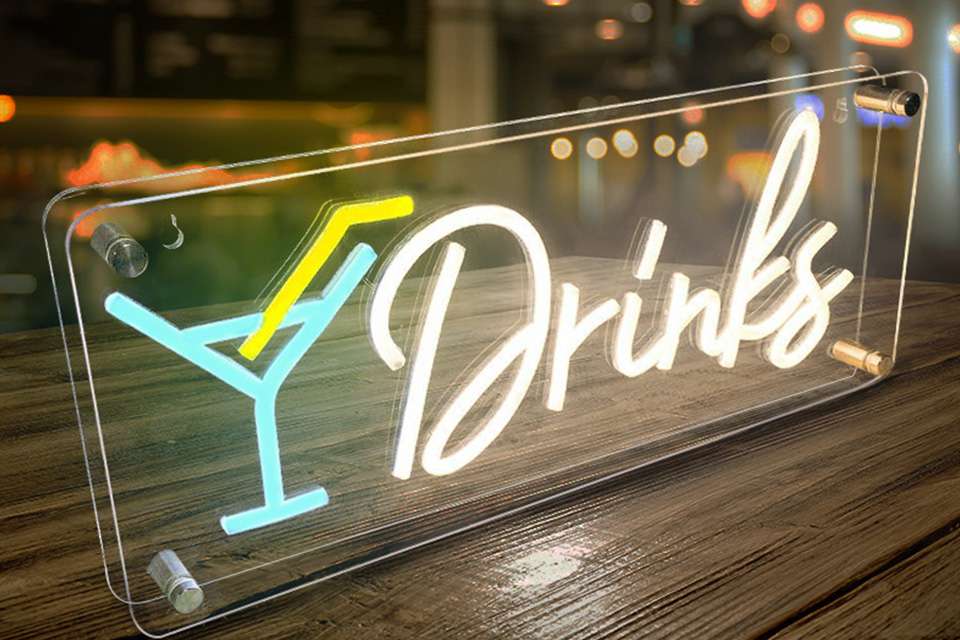

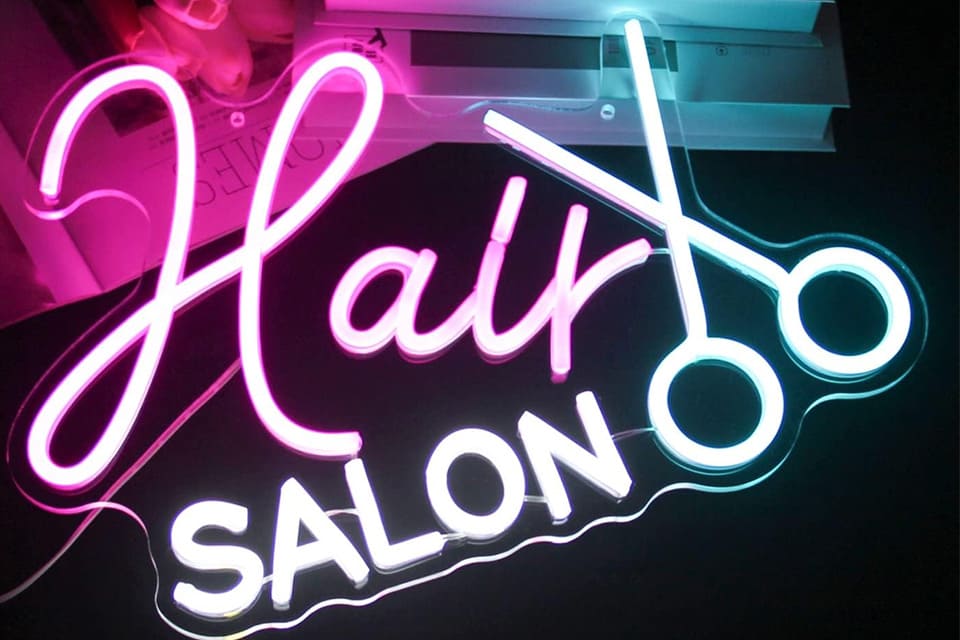

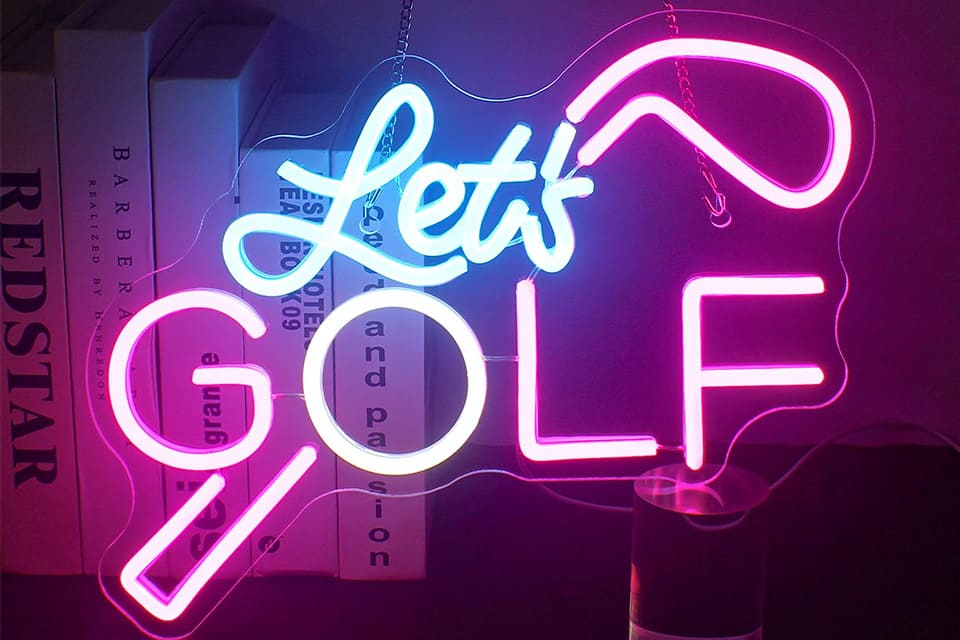
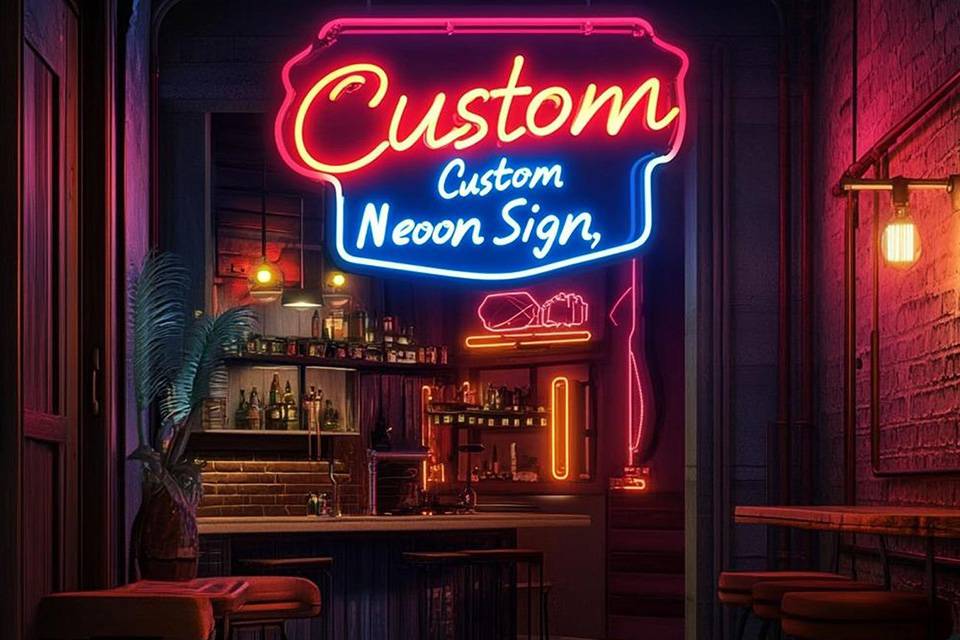

Detta tutorial guides you through the process of crafting a realistic neon light effect i Adobe Photoshop. Whether you’re a seasoned designer or just starting, you’ll learn how to create a vibrant neon text effect that mimics the look of a real neonskylt. This article is worth reading because it provides a step-by-step breakdown of each stage, making it easy to follow along and achieve impressive results. By the end, you’ll have the skills to create a stunning neon sign for any project.

Before you begin creating your neonskylt, you need to set up your Photoshop document correctly. Create a new document in Photoshop with dimensions that suit your project’s needs. For this tutorial, we’ll use a 1920×1080 pixel canvas, but feel free to adjust these dimensions as needed. A higher resolution is generally better for print projects, while a lower resolution may suffice for web use.
Once your document is created, you’ll need a suitable background image. For a classic neonskylt look, a brick background is an excellent choice. You can find free stock photos of brick walls online or use your own. Import the background image into your Photoshop document and resize it to fit the canvas. Alternatively, you can use the paint bucket tool to fill the background with a solid color. Using the paint bucket tool is very easy.
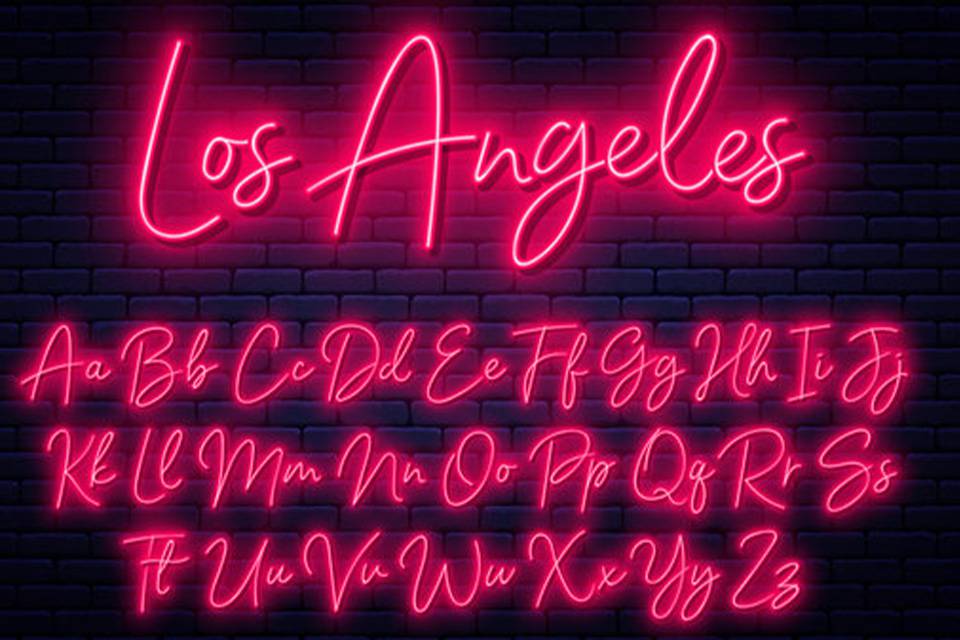
Den typsnitt you choose for your neon text plays a crucial role in achieving a realistic neon effect. Look for fonts that mimic the style of real neon tubing. Script fonts, especially those with rounded edges, often work well. You can also experiment with sans-serif fonts that have a consistent thickness. In this tutorial, we will use the typsnitt called “Fenotype”. Change the font to adjust the neonskylt to your needs.
När du har valt din typsnitt, use the text tool till create a new text layer. Type your desired text, keeping in mind that shorter phrases tend to work best for neonskyltar. Adjust the size and positioning of the text on the canvas. The color of your text will be adjusted later using layer styles, so don’t worry too much about it at this stage. Use the text tool to add a text.
Layer styles are the key to creating a convincing neon effect in Photoshop. Right-click on your text layer and select “Blending Options” to open the Layer Style dialog box. Here, you’ll find a variety of effects that can be applied to your text. We are using layer styles to add neon text effect.
Start by adding an “Inner Glow” effect. Choose a bright neon color, such as pink, blue, or green. Set the blend mode to “Screen” and adjust the size and opacity to create a soft, inner glow. This will create the appearance of illuminated neon rör. Create a stunning neon sign with help of inner glow. We want to make it look like a neon sign. Neon effect photoshop tutorial will help you create a realistic neon light sign.
To enhance the neon glow, we’ll add an “Outer Glow” layer style. Select “Outer Glow” from the Layer Style dialog box. Choose a color similar to your inner glow, but perhaps slightly lighter or more saturated. This is how to create the neon glow.
Set the blend mode to “Screen” and adjust the size and spread to create a soft, diffused glow around your text. You can experiment with the opacity and contour settings to fine-tune the effect. The goal is to create a halo of ljus that mimics the glow of a real neonskylt.
To add depth and dimension to your neon text, we’ll use the “Bevel och Emboss” layer style. Select “Bevel och Emboss” from the Layer Style dialog box. Set the style to “Inner Bevel” and the technique to “Smooth.” This will help you create a convincing neon titta.
Adjust the depth, size, and angle settings to create the appearance of rounded neon tubing. You can also experiment with the gloss contour and highlight/shadow modes to fine-tune the effect. The goal is to make your text look like it’s made of three-dimensional tubes, rather than just flat letters and we create a cool neon text.
A subtle drop shadow can help to ground your neonskylt and make it look more realistic. Select “Drop Shadow” from the Layer Style dialog box. Set the blend mode to “Multiply” and choose a dark color that complements your background. We skapa en neonskylt adding a drop shadow.
Adjust the distance, spread, and size settings to create a soft, diffused shadow behind the text. Den opacity av drop shadow should be relatively low, around 20-30%, to avoid overpowering the neon effect. You can use this effect in photoshop to enhance your neonskylt. This is how to make a neon sign look more realistic. Drop shadow can add depth to make your design better.
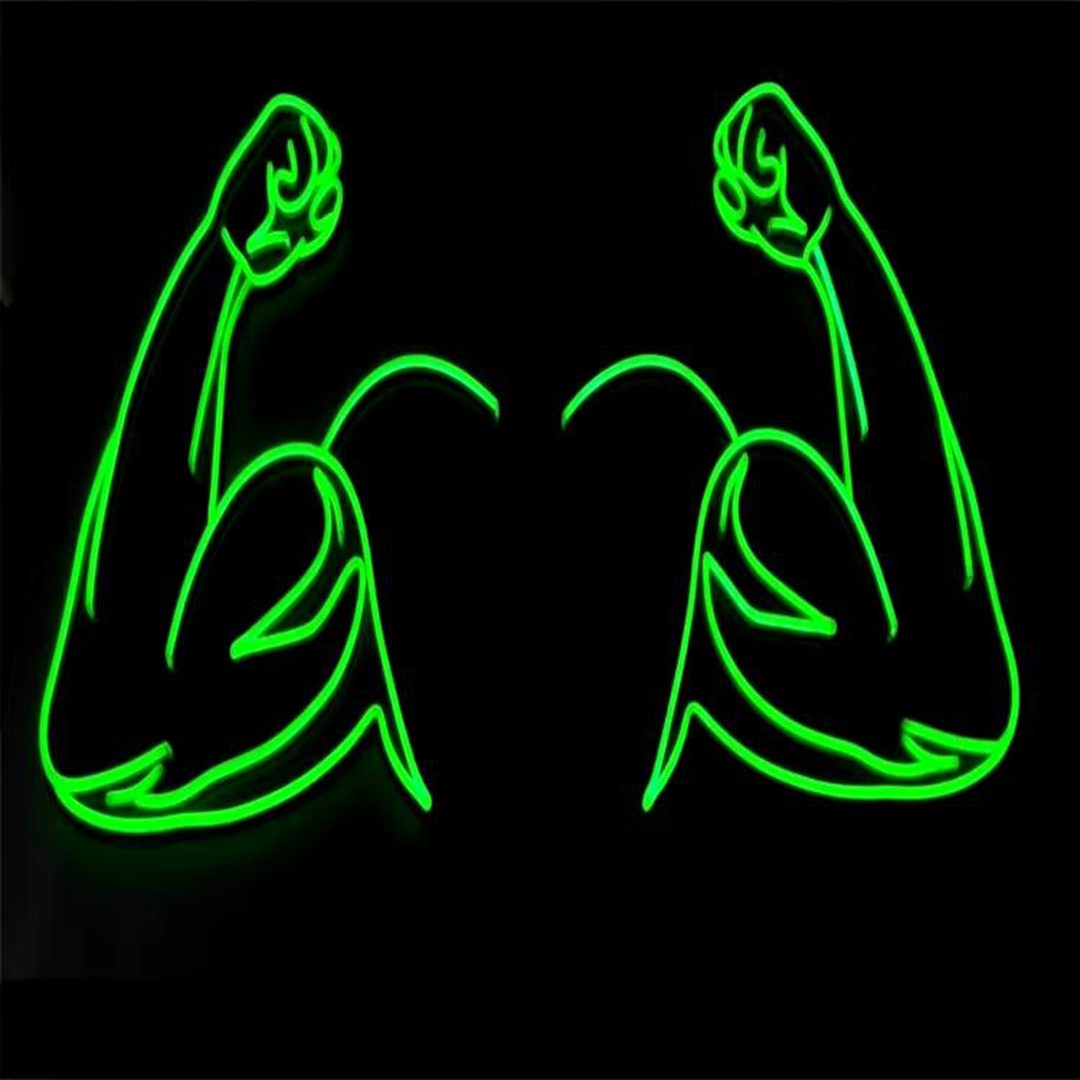
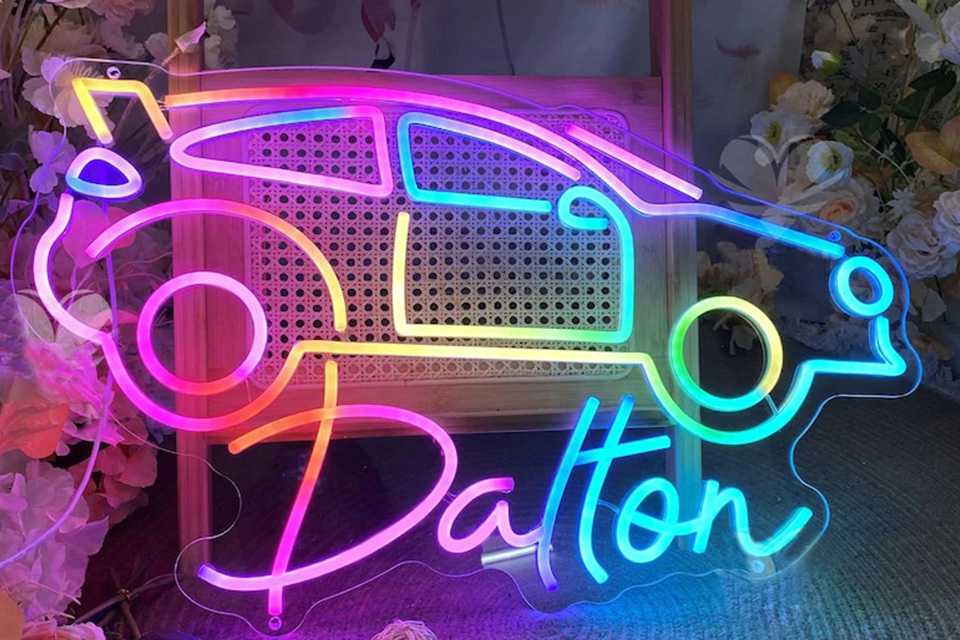
Medan neon text is a common application of the neon effect, you can also use the pen tool to create anpassad neon shapes. Select the pen tool from the toolbar and use it to draw a shape on a new layer. You can create anything from simple lines and curves to complex illustrations. Use the pen tool till create another shape.
Once you’ve created your shape, right-click on the layer and select “Blending Options” to open the Layer Style dialog box. Apply the same layer styles you used for your neon text, including inner glow, outer glow, and bevel och emboss. Adjust the settings as needed to achieve the desired effect. This is how to skapa en neon shape for your neonskylt. Du kan använda add anchor point tool eller direct selection tool to adjust your shape.
| Layer Style | Settings | Purpose |
|---|---|---|
| Inner Glow | Blend Mode: Screen, Color: Bright neon color, Size & Opacity: Adjust for a soft inner glow | Creates the appearance of illuminated tubing |
| Outer Glow | Blend Mode: Screen, Color: Similar to inner glow but lighter, Size & Spread: Adjust for a diffused glow, Contour: Experiment for desired effect | Mimics the halo of light around a real neonskylt |
| Bevel & Emboss | Style: Inner Bevel, Technique: Smooth, Depth, Size & Angle: Adjust for rounded tubing appearance, Gloss Contour & Highlight/Shadow Modes: Fine-tune | Adds depth and dimension, making the text look like 3D tubes |
| Drop Shadow | Blend Mode: Multiply, Color: Dark color complementing background, Distance, Spread & Size: Adjust for a soft shadow, Opacity: 20-30% | Grounds the neonskylt and adds to realism, realistic effect |
To enhance the realism of your neonskylt, consider adding a brick background. You can find free stock photos of brick walls online or use your own. Import the brick background into your Photoshop document and place it below your neonskylt layers.
You may need to adjust the ljusstyrka and contrast of the brick background to make it look more realistic. You can also add a subtle vignette effect till darken the image around the edges and draw attention to the neonskylt. This will also help to create the light around the neonskylt. We need to imitate the wall behind the neonskylt.
Once you’ve applied all the layer styles and added a background, take some time to fine-tune your neon sign effect. You may need to adjust the colors, sizes, and opacity of the various effects to achieve the perfect look. This is how to create a realistic neon effect in Adobe Photoshop. Neon sign in photoshop can be used for various projects.
Experiment with different blend modes and contour settings to see how they affect the overall appearance of your neonskylt. You can also duplicate layers and adjust their settings to create a more complex and layered effect. Duplicate the text layer to enhance the neon effect. Remember that creating a realistic neon effect often involves subtle adjustments and attention to detail. You can also create another new layer to add some additional effects. We need to create a new layer for every new effect. You can merge all layers in a group when you are finished.
Once you’re satisfied with your neon sign effect, you’ll need to save and export your image. Save your work as a PSD file to preserve all the layers and effects, allowing you to edit the neonskylt in the future. Neon text in photoshop is easy to create with this tutorial.
To export your neonskylt for web use, go to “File” > “Export” > “Save for Web (Legacy).” Choose a suitable file format, such as JPEG or PNG, and adjust the quality settings as needed. For print use, you’ll want to export your image at a higher resolution, typically 300 DPI. Use the “Export As” option and choose a file format like TIFF or PSD. You can create a cool neon glow using this tutorial.
Here are the 10 most important things to remember from this neon effect photoshop tutorial:
Following these steps you can create a stunning neon sign in Photoshop. Using this guide you will learn how to create a neonskylt that will look like a neon sign in real life. This photoshop tutorial will help you create a real neon sign imitation. You can use this neon light effect till create stunning designs. If you want to create a sign would look like a real neon sign follow this tutorial. Using photoshop you can create a cool neon sign for any project and for every taste. You will need to set the opacity av text layer to around 20% to create a perfect neon text in Photoshop. Text using only layer style won’t look like a real neonskylt. Feel free to experiment with all the tools in Photoshop to create a perfect neonskylt for you.